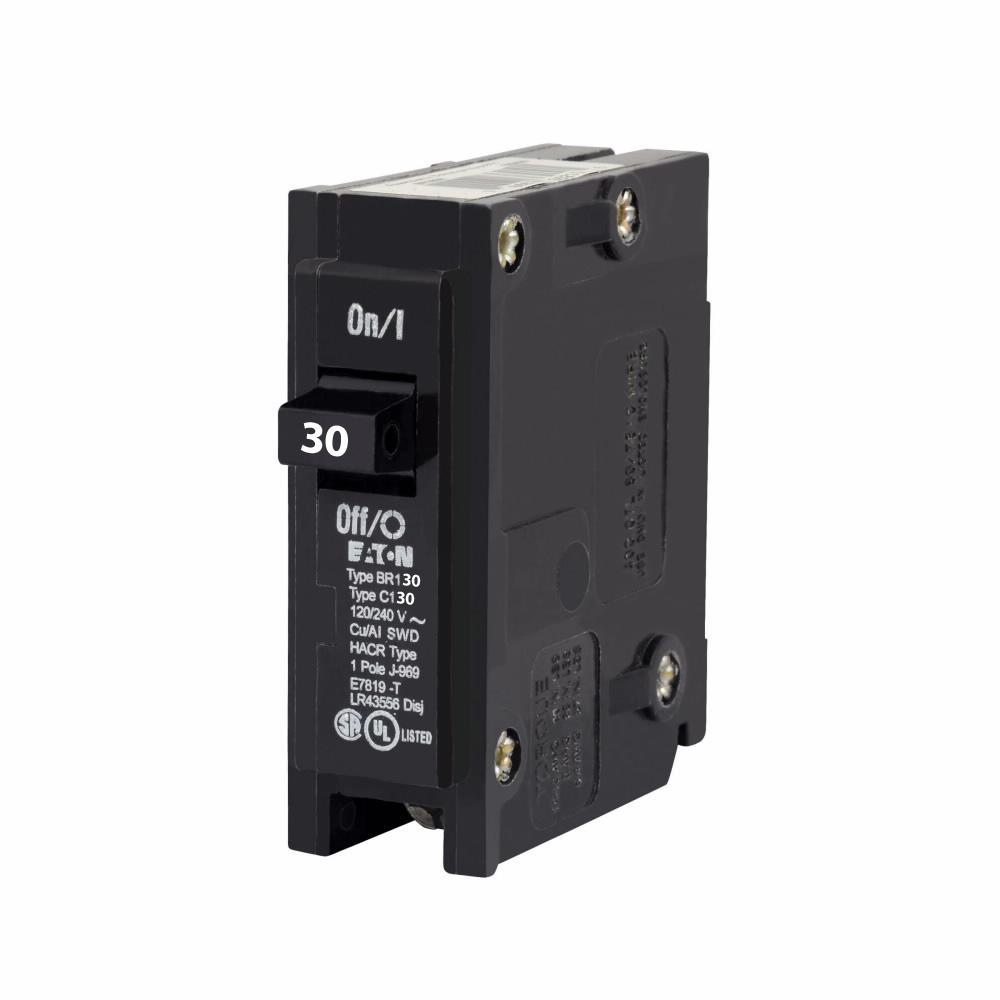
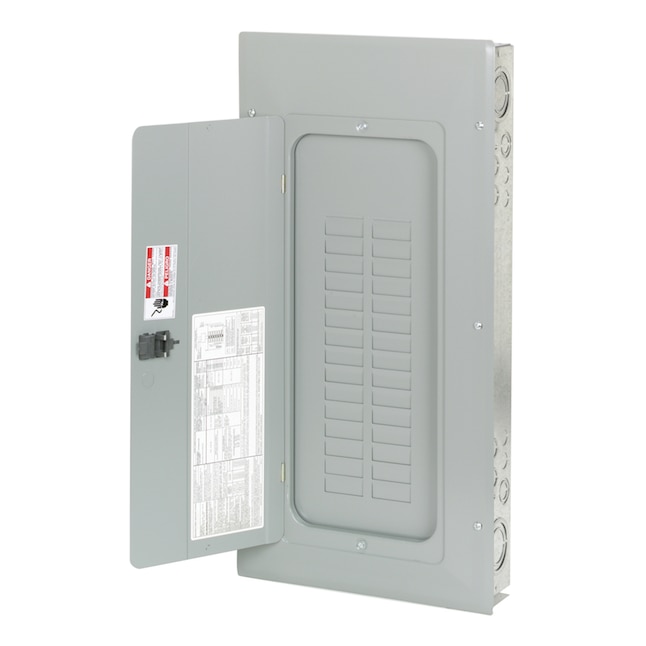
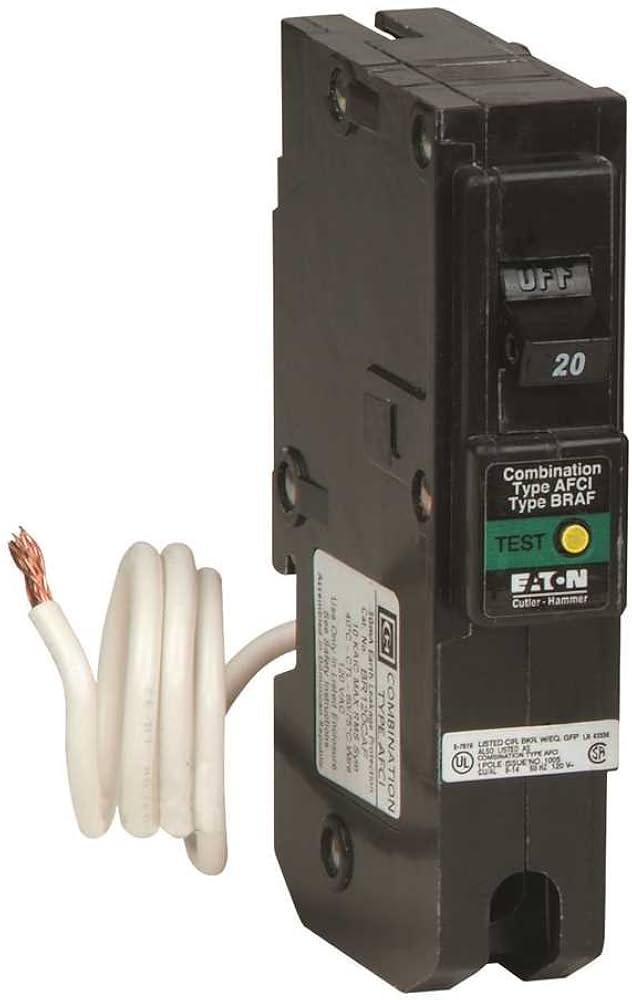
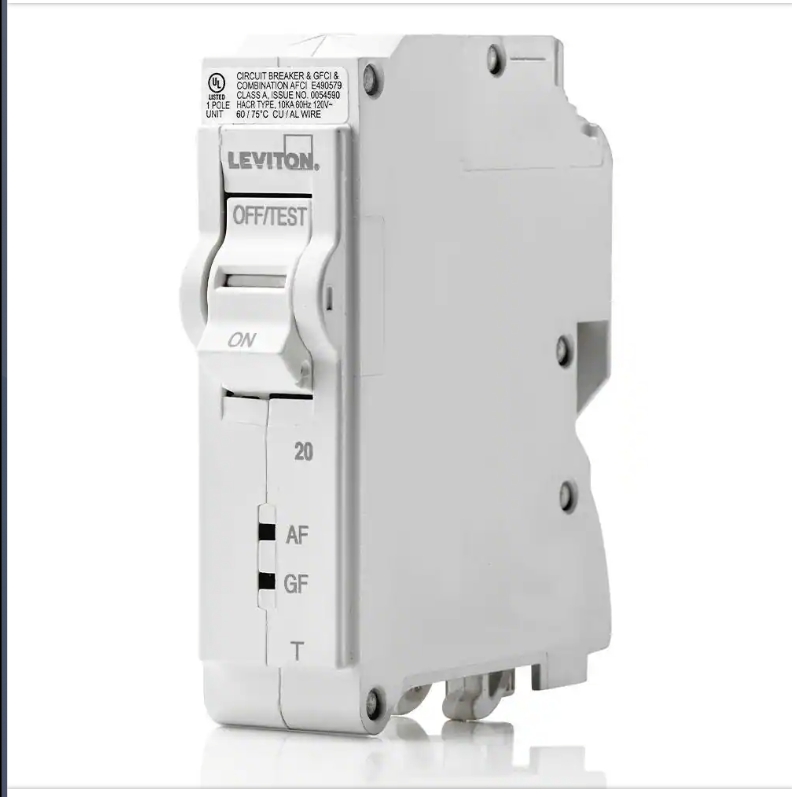
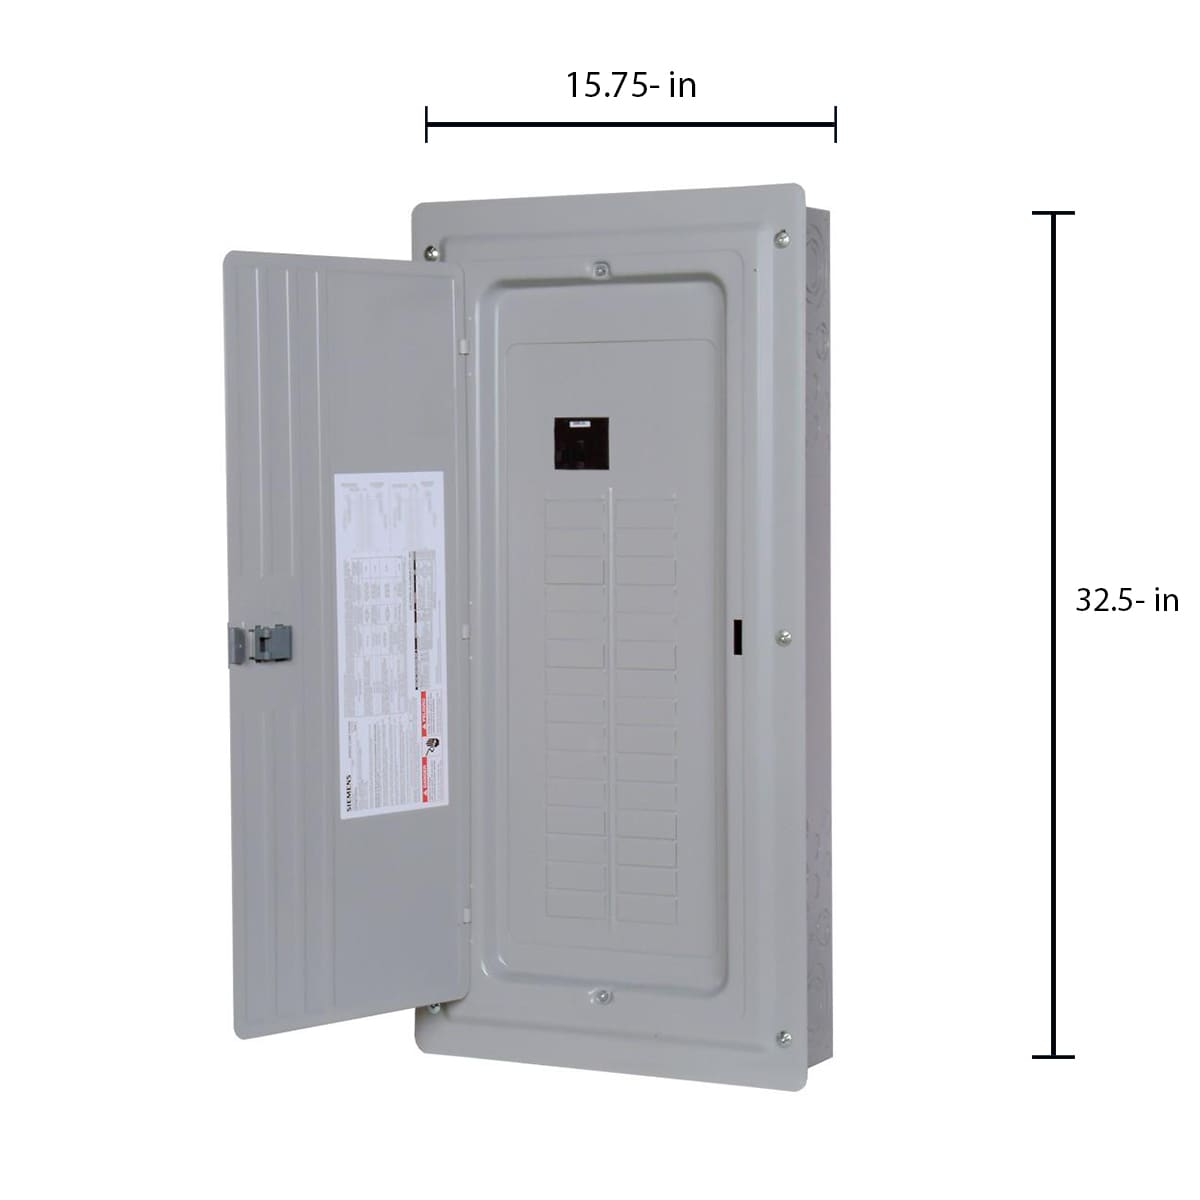
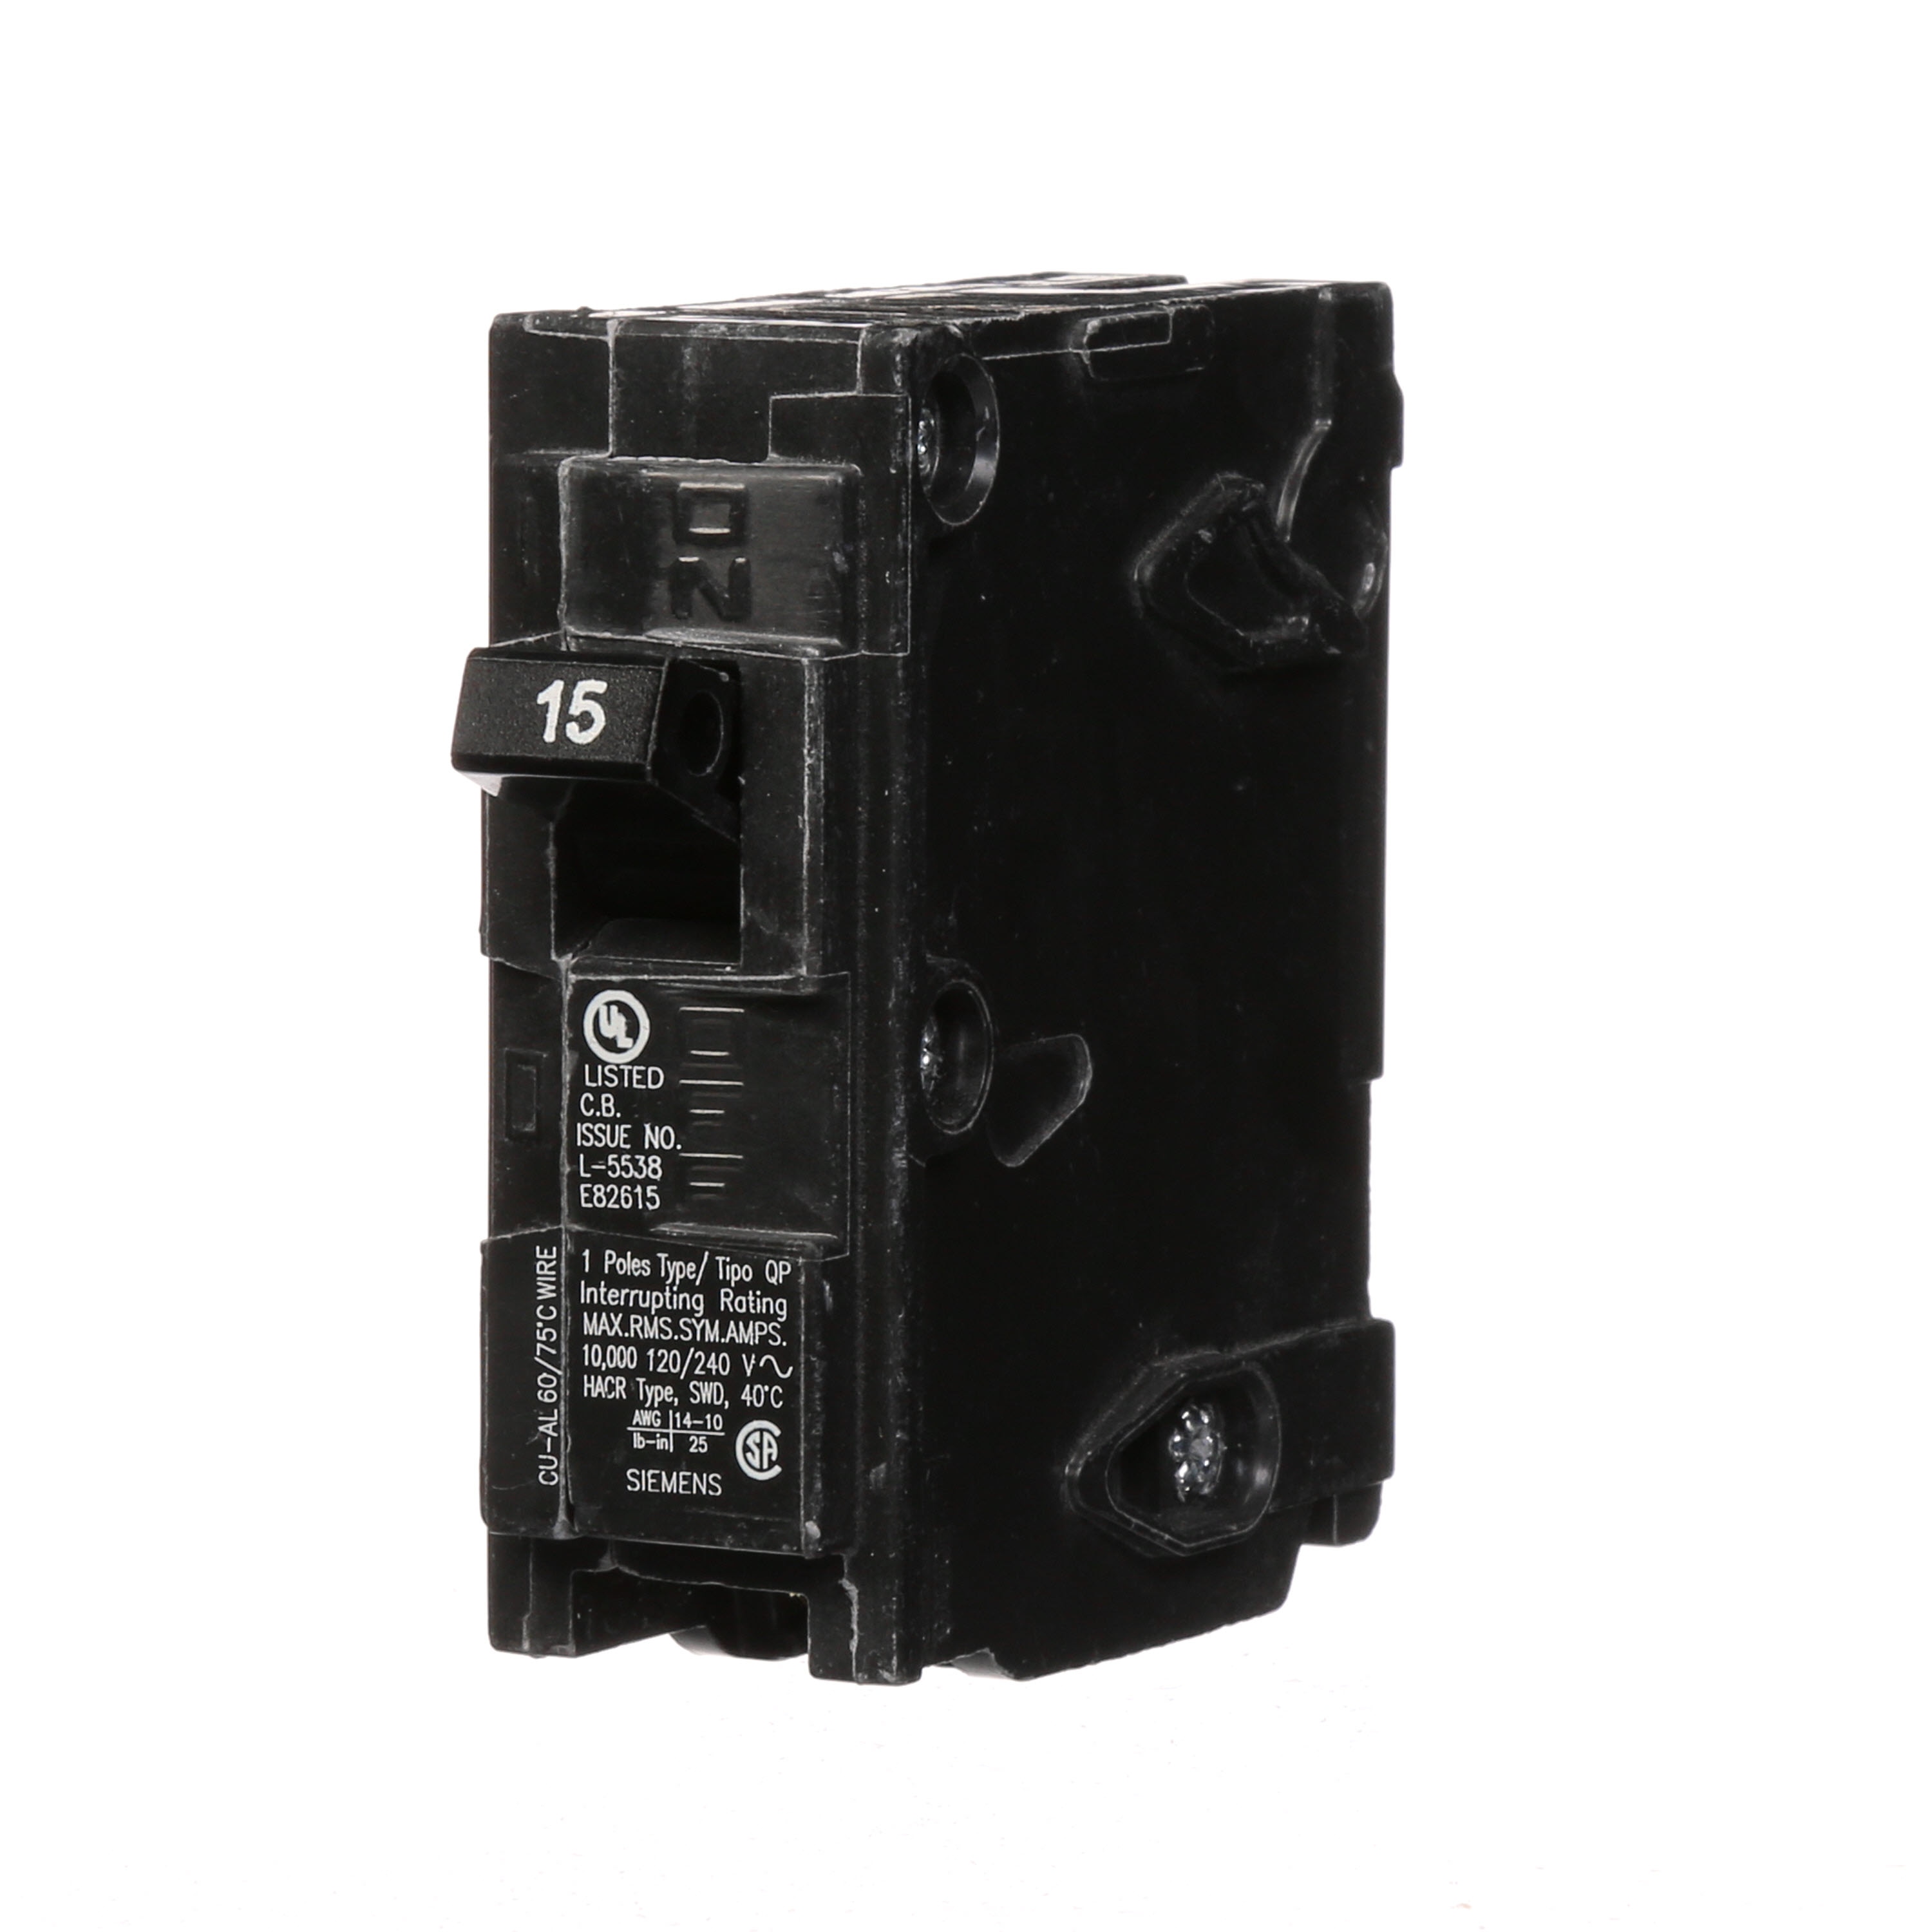
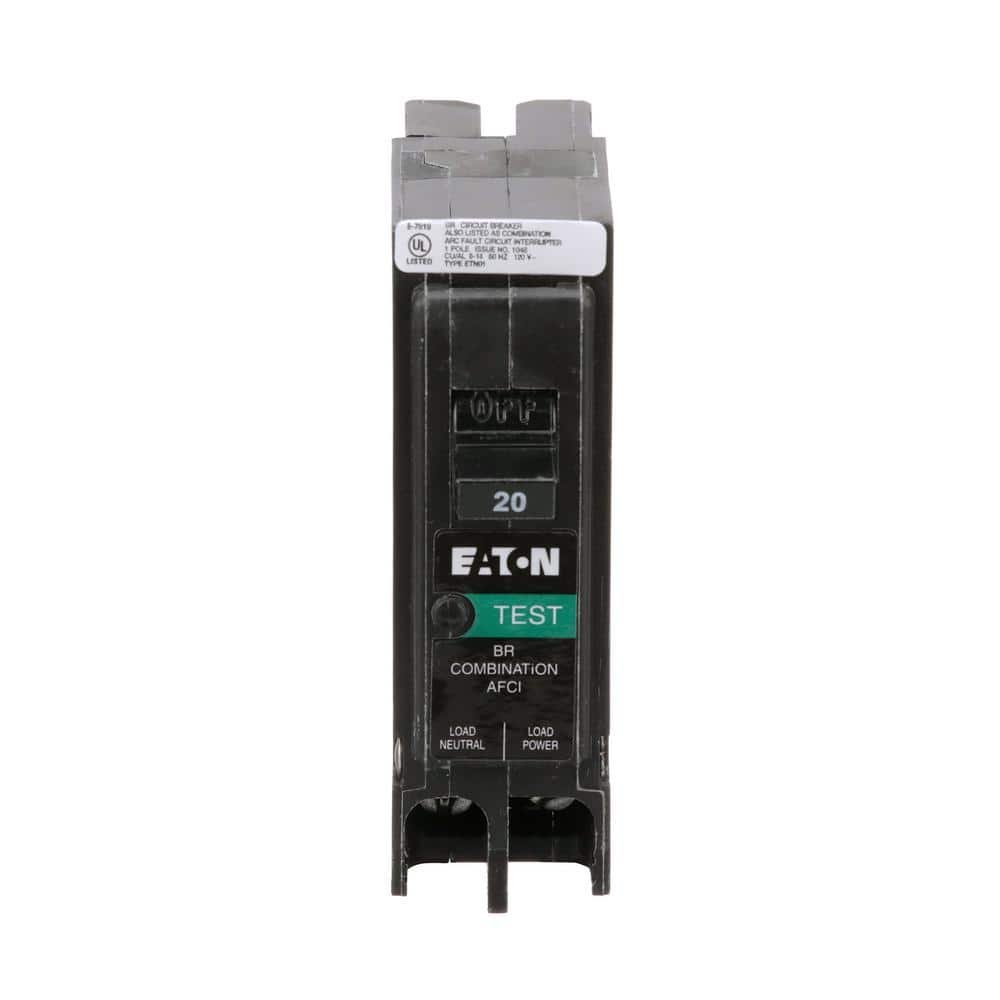
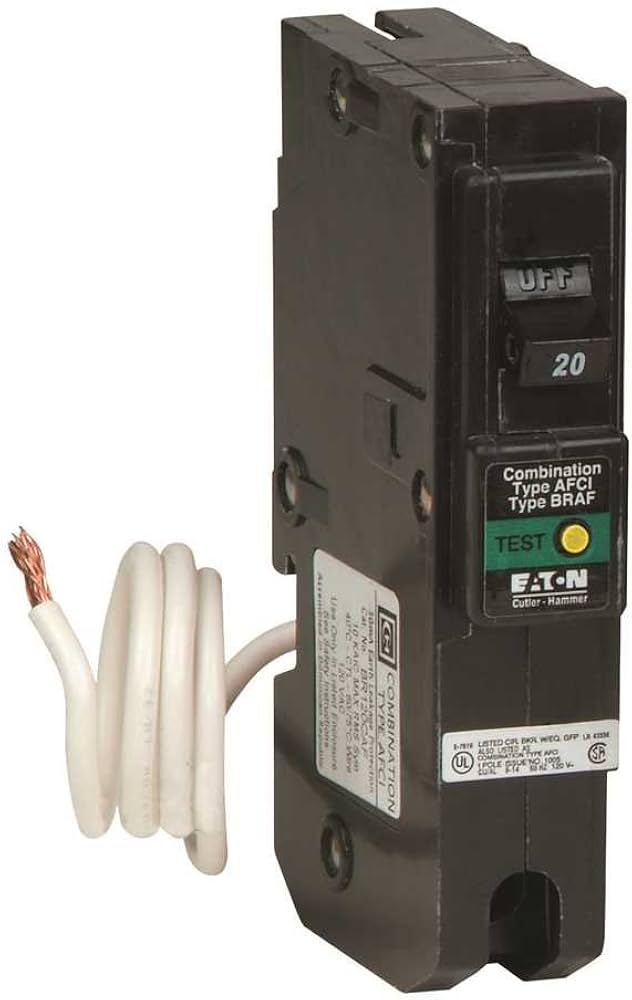
Dealing with a flickering light or a breaker that refuses to reset can be frustrating and potentially dangerous. Learning how to replace a circuit breaker safely is a critical home maintenance skill that can save you from costly emergency electrician visits and prevent electrical fires. Mastering this process allows homeowners to resolve power failures quickly, prevent electrical hazards, and ensure the home's electrical system operates at peak efficiency. If you're upgrading an older panel, installing an Eaton 15-Amp AFCI breaker can significantly increase your family's safety.
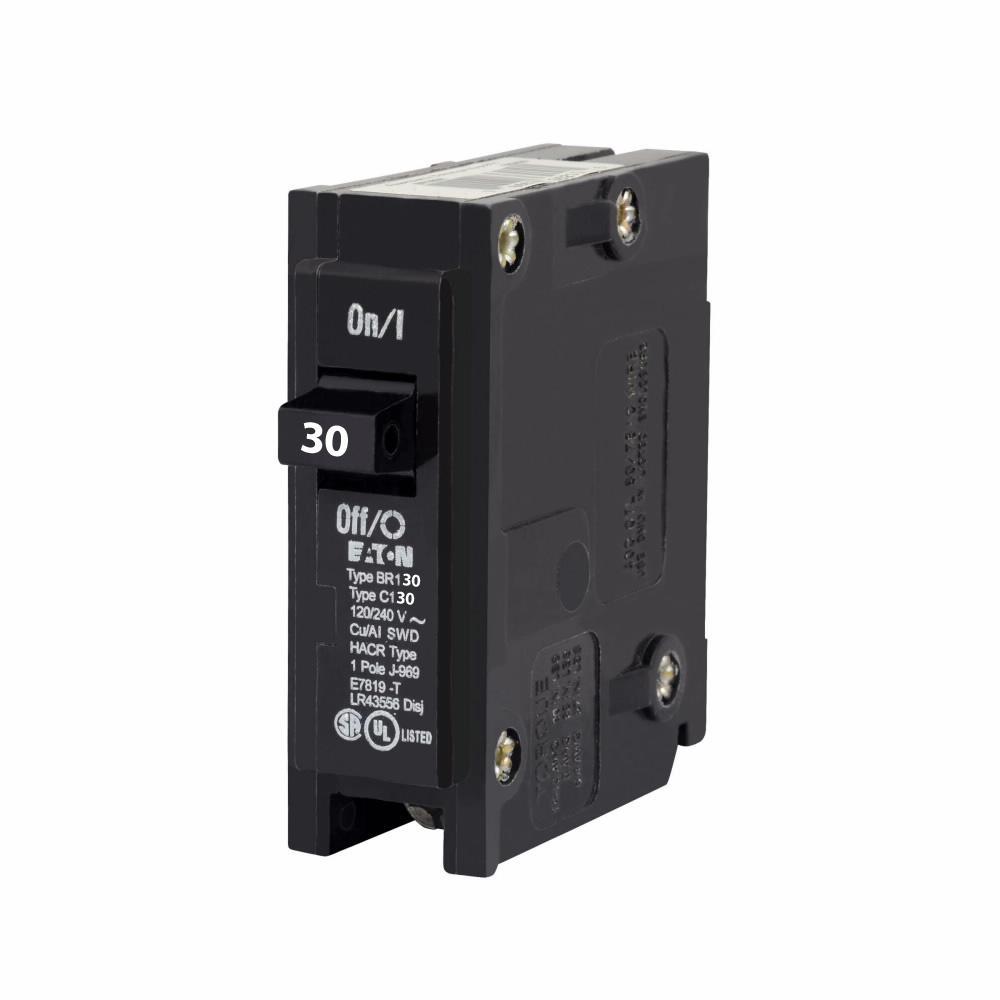
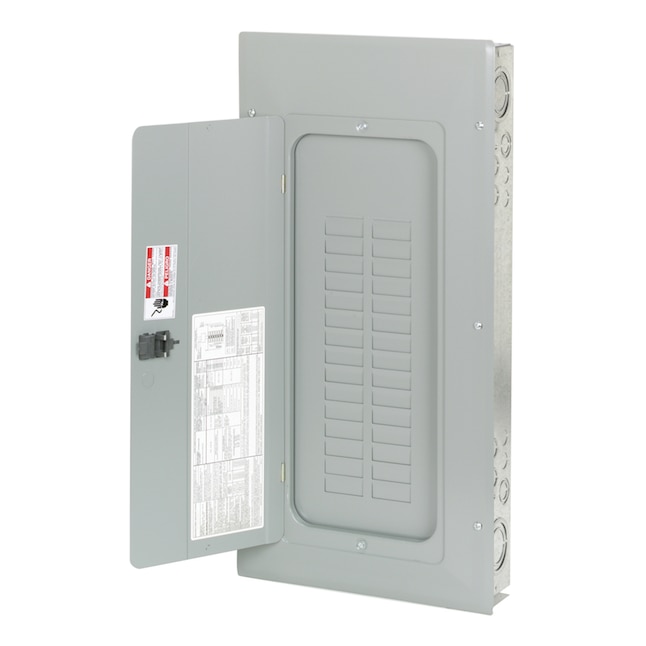
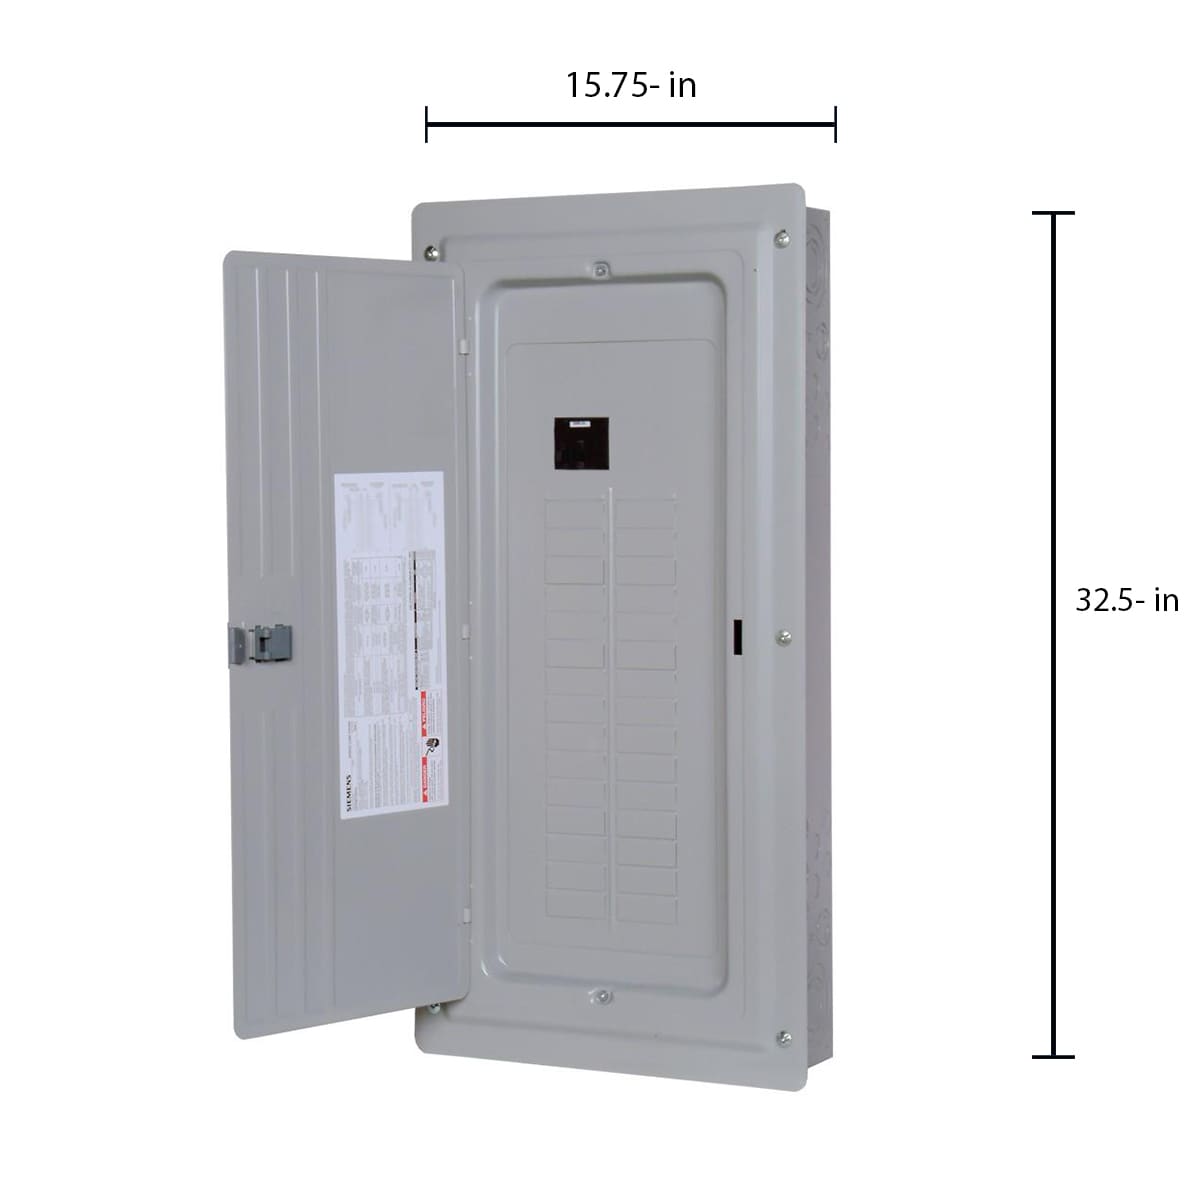
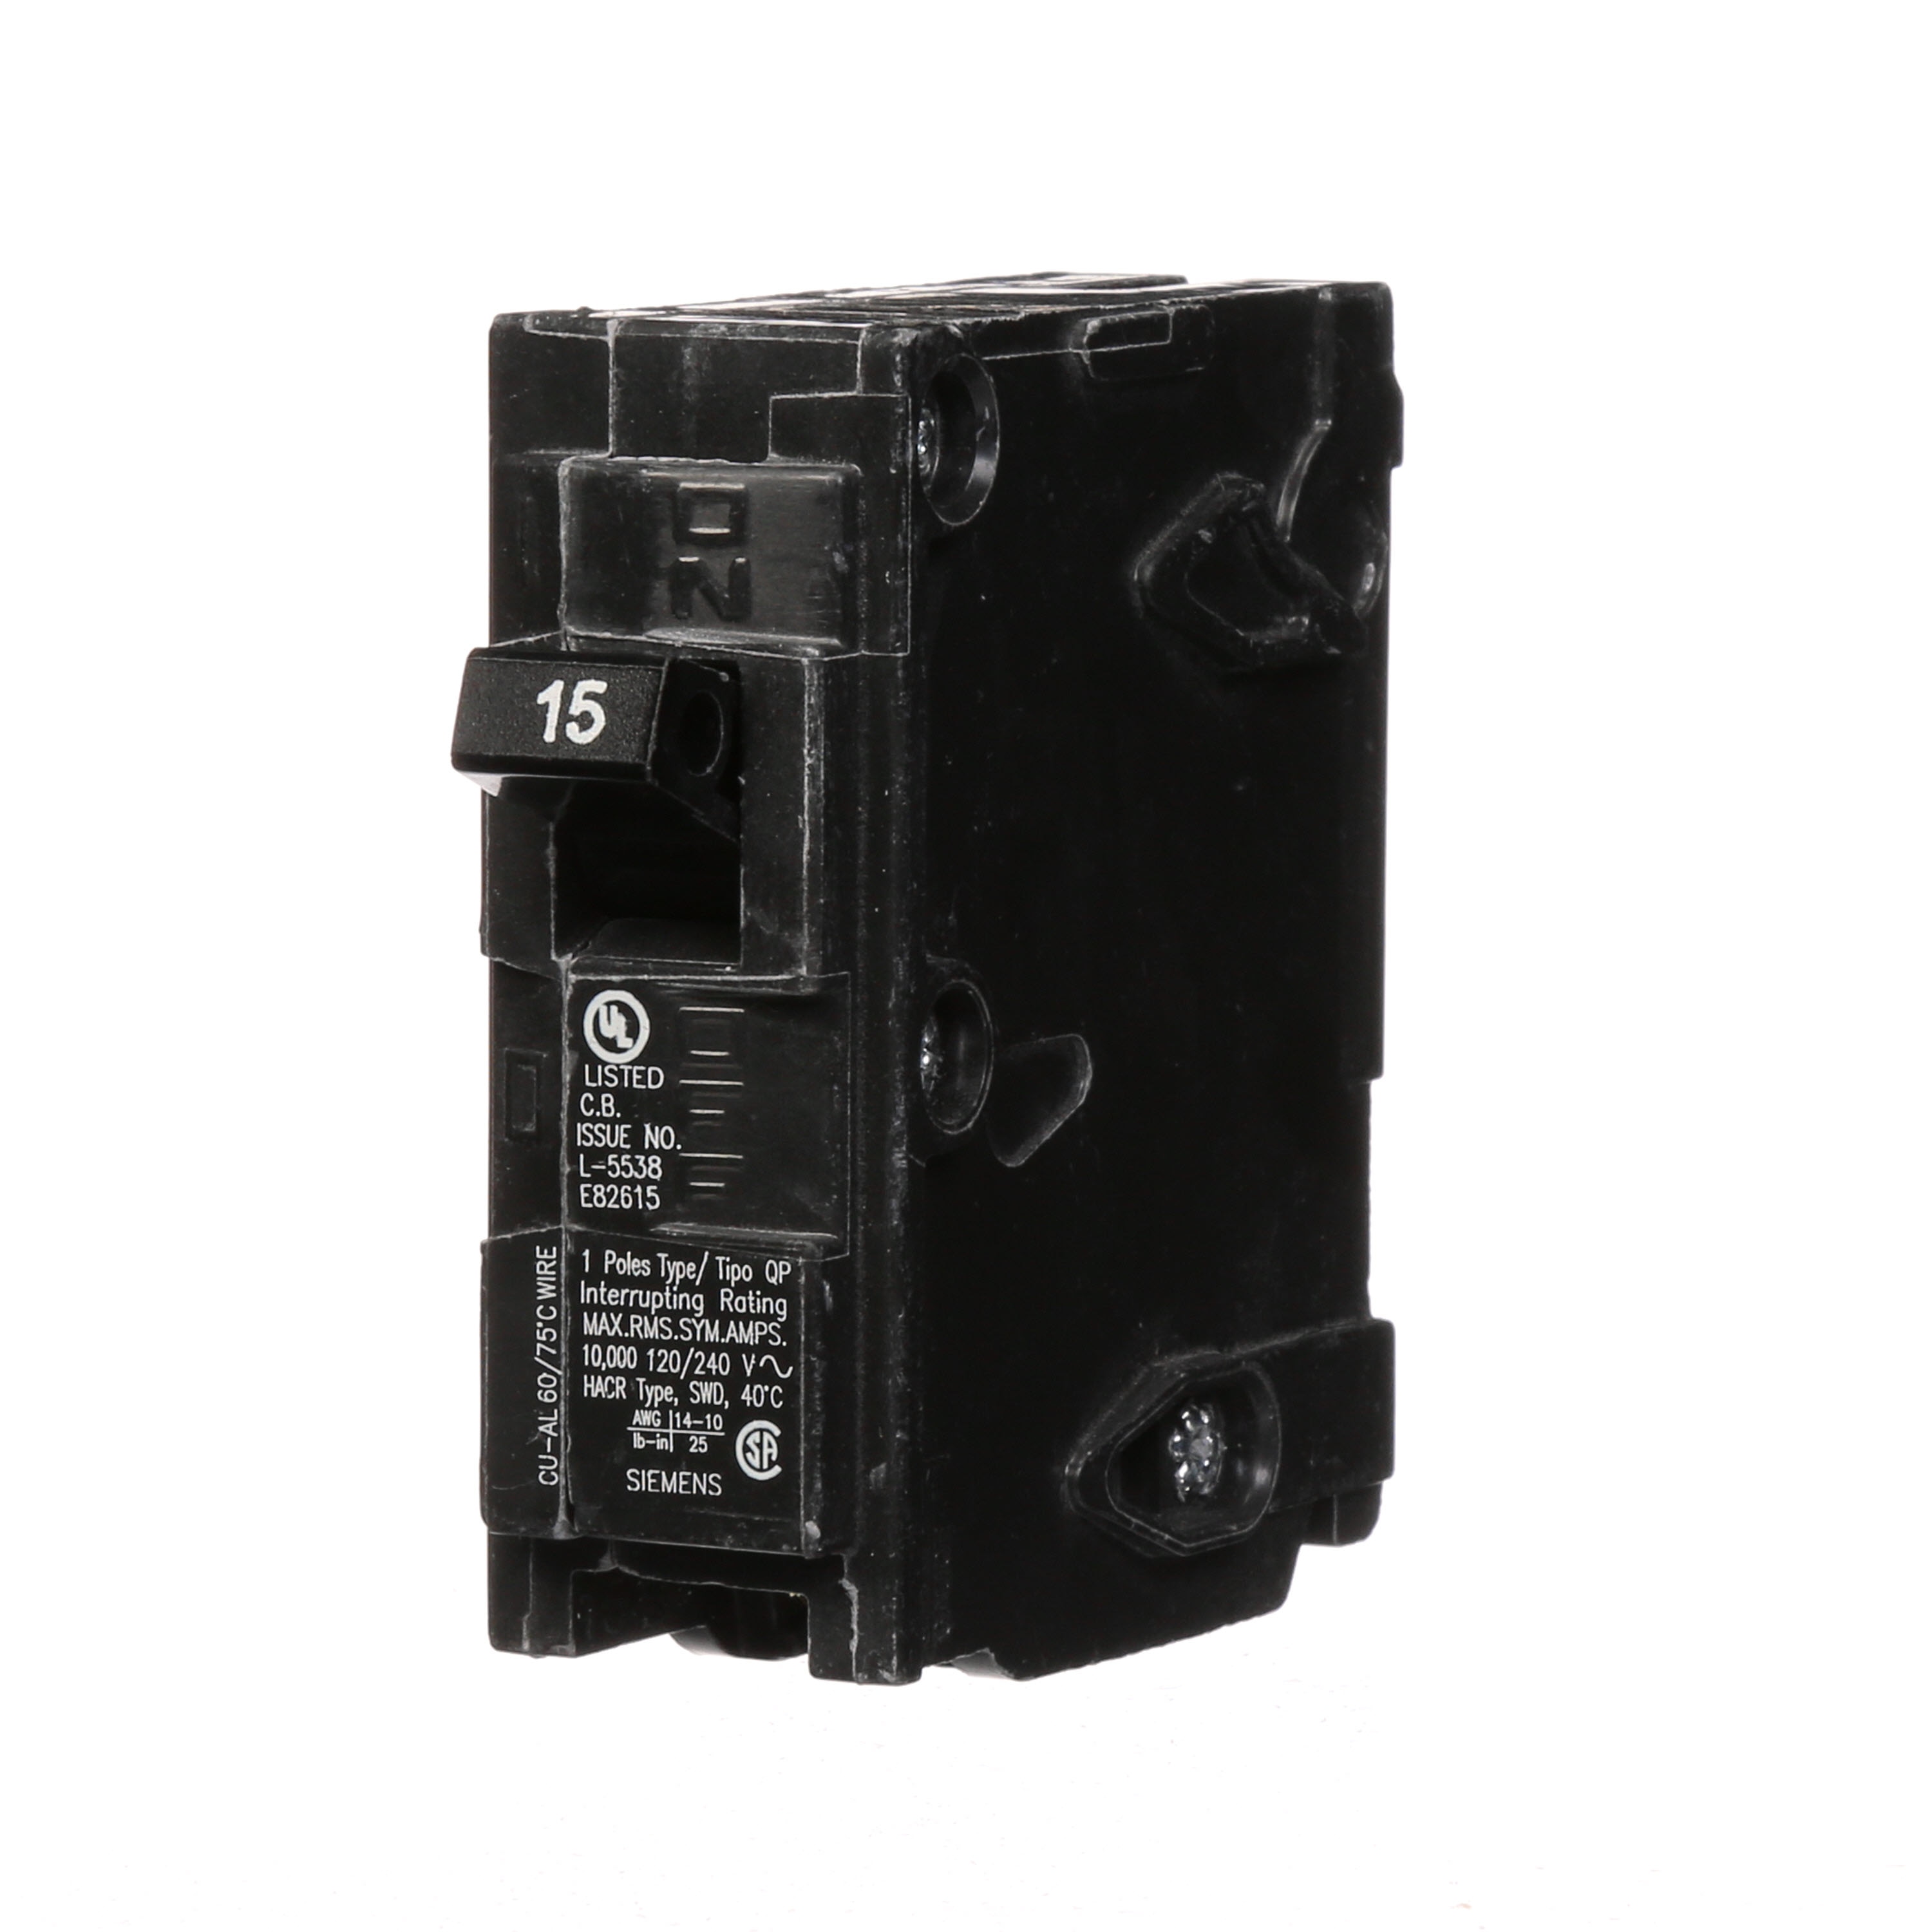
Because the electrical panel is the heart of your home's power, replacing a faulty circuit breaker requires strict safety protocols to avoid electrical shock or fire hazards. This professional, step-by-step guide covers how to diagnose and replace faulty breakers to restore power to your home.
Quick Summary: Replacing a circuit breaker involves powering down the main service, removing the faulty switch, and installing a compatible replacement. Crucial: Always verify that the power is off using a voltage tester before touching any components inside the panel. For those updating older homes, see our Eaton 15-Amp AFCI breaker review to ensure your home meets modern safety codes.
When to Replace a Circuit Breaker
Before you open your panel, it is important to determine if the breaker actually needs replacing. A breaker that trips frequently is often doing its job—protecting your wires from an overload. However, you should consider a replacement if:
- The breaker will not reset (it flips back to "off" immediately).
- The breaker feels hot to the touch or smells like burning plastic.
- There are visible scorch marks or discoloration around the breaker.
- The switch feels "spongy" or loose when toggled.
If you are managing DC power systems instead of standard AC panels, check out our guide to marine DC breakers for specialized protection tips.
Warning: If you see sparks, hear loud popping sounds, or notice widespread electrical failures, leave the panel alone and call a licensed electrician immediately.
Tools and Materials Needed
Having the right tools on hand prevents mistakes and ensures the installation is secure. Ensure all tools are insulated for electrical work.
Essential for confirming the power is truly off.
Typically a Phillips and a flat-head screwdriver.
Must be the exact brand and amperage as the original.
Pro Tip: To meet modern safety codes in BR panels, we recommend the Eaton 15-Amp AFCI breaker for superior arc-fault protection.
To see clearly inside the dark panel box.
Step-by-Step Replacement Guide
Step 1: Power Down the System
The most critical step is removing the power. Locate the Main Breaker (the large switch usually at the top or bottom of the panel) and flip it to the "OFF" position. This cuts power to all individual branch circuits.
Note: The lugs coming into the panel from the street are still energized even when the main breaker is off. Avoid touching the main service wires at the top of the panel.
Step 2: Remove the Panel Cover
Using your screwdriver, remove the screws securing the panel door (the dead front). Carefully pull the cover away to reveal the breakers and wiring. Set the screws aside in a safe place.
Step 3: Test for Voltage
Before touching any wires, use your non-contact voltage tester on the breaker you intend to replace. Place the tester near the screw terminal and the breaker body to ensure no current is flowing.
Step 4: Disconnect and Remove the Old Breaker
- Loosen the screw holding the hot wire (usually black or red) to the breaker.
- Carefully pull the wire out of the terminal.
- Pull the breaker straight out from the bus bar. Most breakers snap in; you may need to tug firmly to release the tension clip.
Step 5: Install the New Breaker
- Align the new breaker with the bus bar.
- Push the breaker firmly into the slot until it clicks or snaps into place securely.
- Insert the hot wire into the terminal and tighten the screw firmly. A loose connection can cause arcing and heat buildup. If you are installing a specialized safety breaker, such as an Eaton AFCI breaker, ensure the neutral wire is also properly seated according to the manufacturer's instructions.
Step 6: Restore Power
Replace the panel cover and secure the screws. Flip the Main Breaker back to "ON," then flip your new individual circuit breaker to the "ON" position. Test the outlets or lights on that circuit to confirm it is working.
Common Mistakes to Avoid
To ensure your home remains safe, avoid these frequent DIY errors. While upgrading your electrical panel is a great start, ensuring your wiring is up to code and using fire-resistant materials like Rockwool Safe 'n' Sound insulation is the most effective way to prevent electrical fires.
- Wrong Amperage: Never replace a 15-amp breaker with a 20-amp breaker. This can overheat the existing wires and cause a house fire.
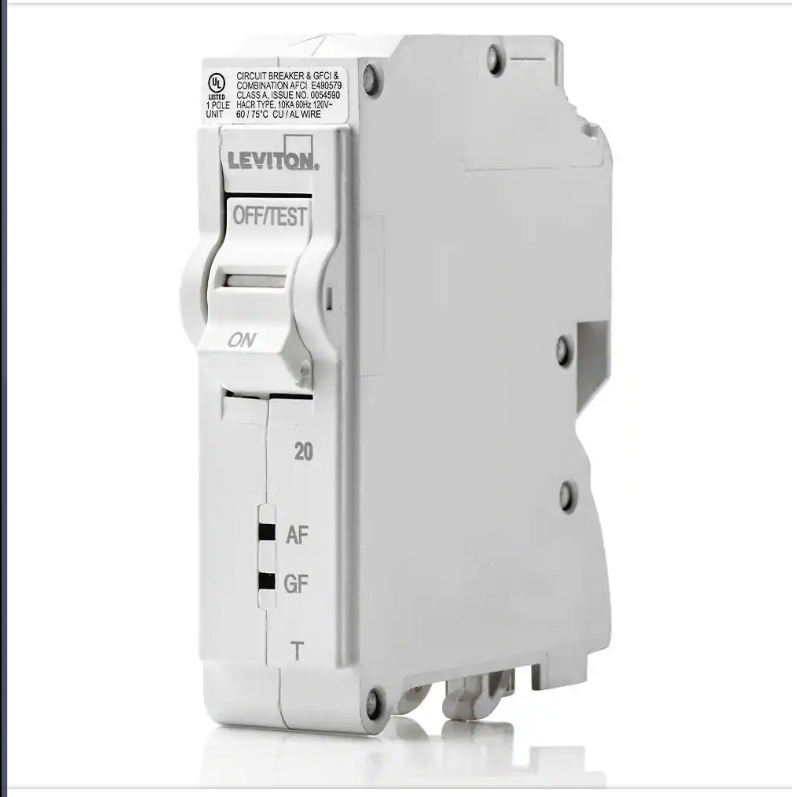
- Wrong Brand: Use only breakers certified for your specific panel brand (e.g., Square D, Eaton, Siemens)—if you're undecided between the top options, check out our Square D vs Eaton circuit breaker comparison. Using mismatched brands can lead to poor connection and overheating. For those working with specialized DC systems, our detailed review of the Blue Sea Systems marine DC breaker provides a deeper dive into low-voltage protection.
- Over-tightening: While the connection must be secure, over-tightening can strip the screw or damage the wire.
Can I replace a breaker while the power is on?
Absolutely not. While some professionals do "hot" swaps, it is incredibly dangerous for homeowners and can result in fatal electrical shocks or permanent damage to the panel.
Why is my new breaker tripping immediately?
If a brand-new breaker trips instantly, you likely have a "hard short" in the wiring or the device plugged into the circuit is faulty. This is a wiring issue, not a breaker issue.
When should I call a professional?
Call a licensed electrician if you see melted wires, if your panel is an outdated brand (like Federal Pacific or Zinsco), or if you are uncomfortable working with electricity. When installing high-draw equipment, such as a Mini-Split heat pump, always ensure your circuit breaker is rated for the specific load requirements of the appliance.
Disclaimer: Electrical work can be dangerous. This guide is for informational purposes. Always follow local building codes and consult a certified professional if you are unsure of your abilities.