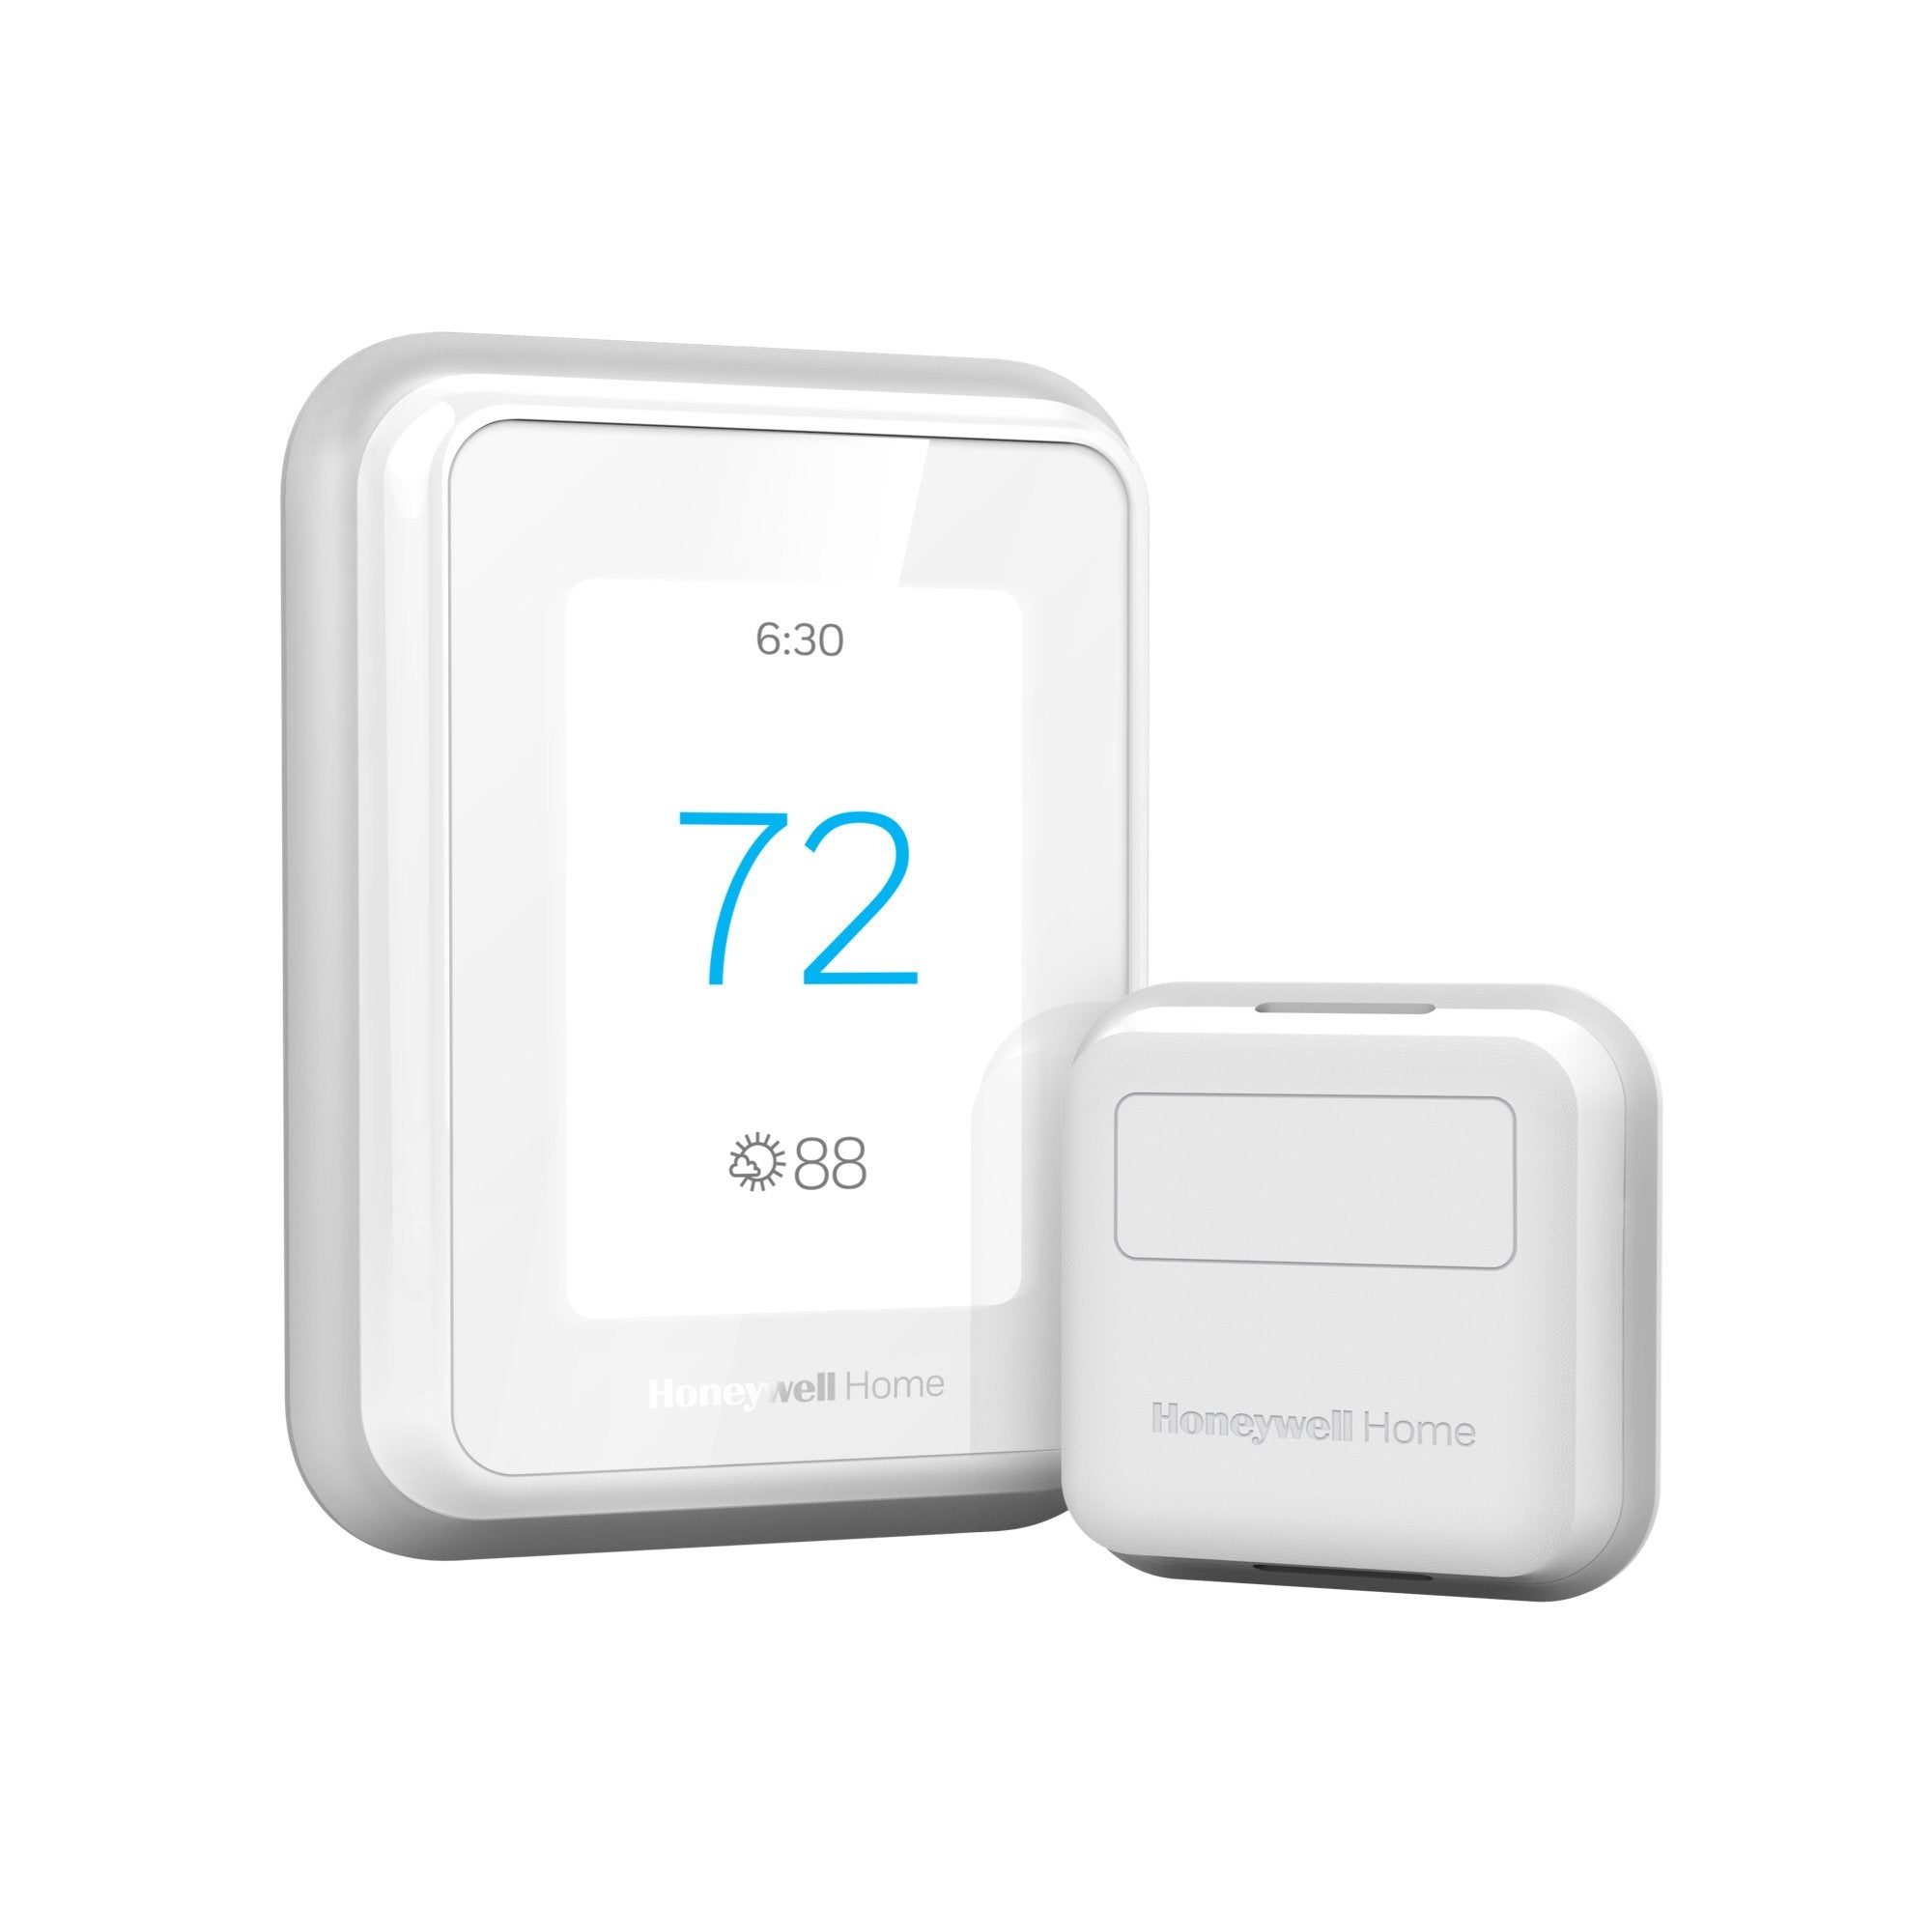
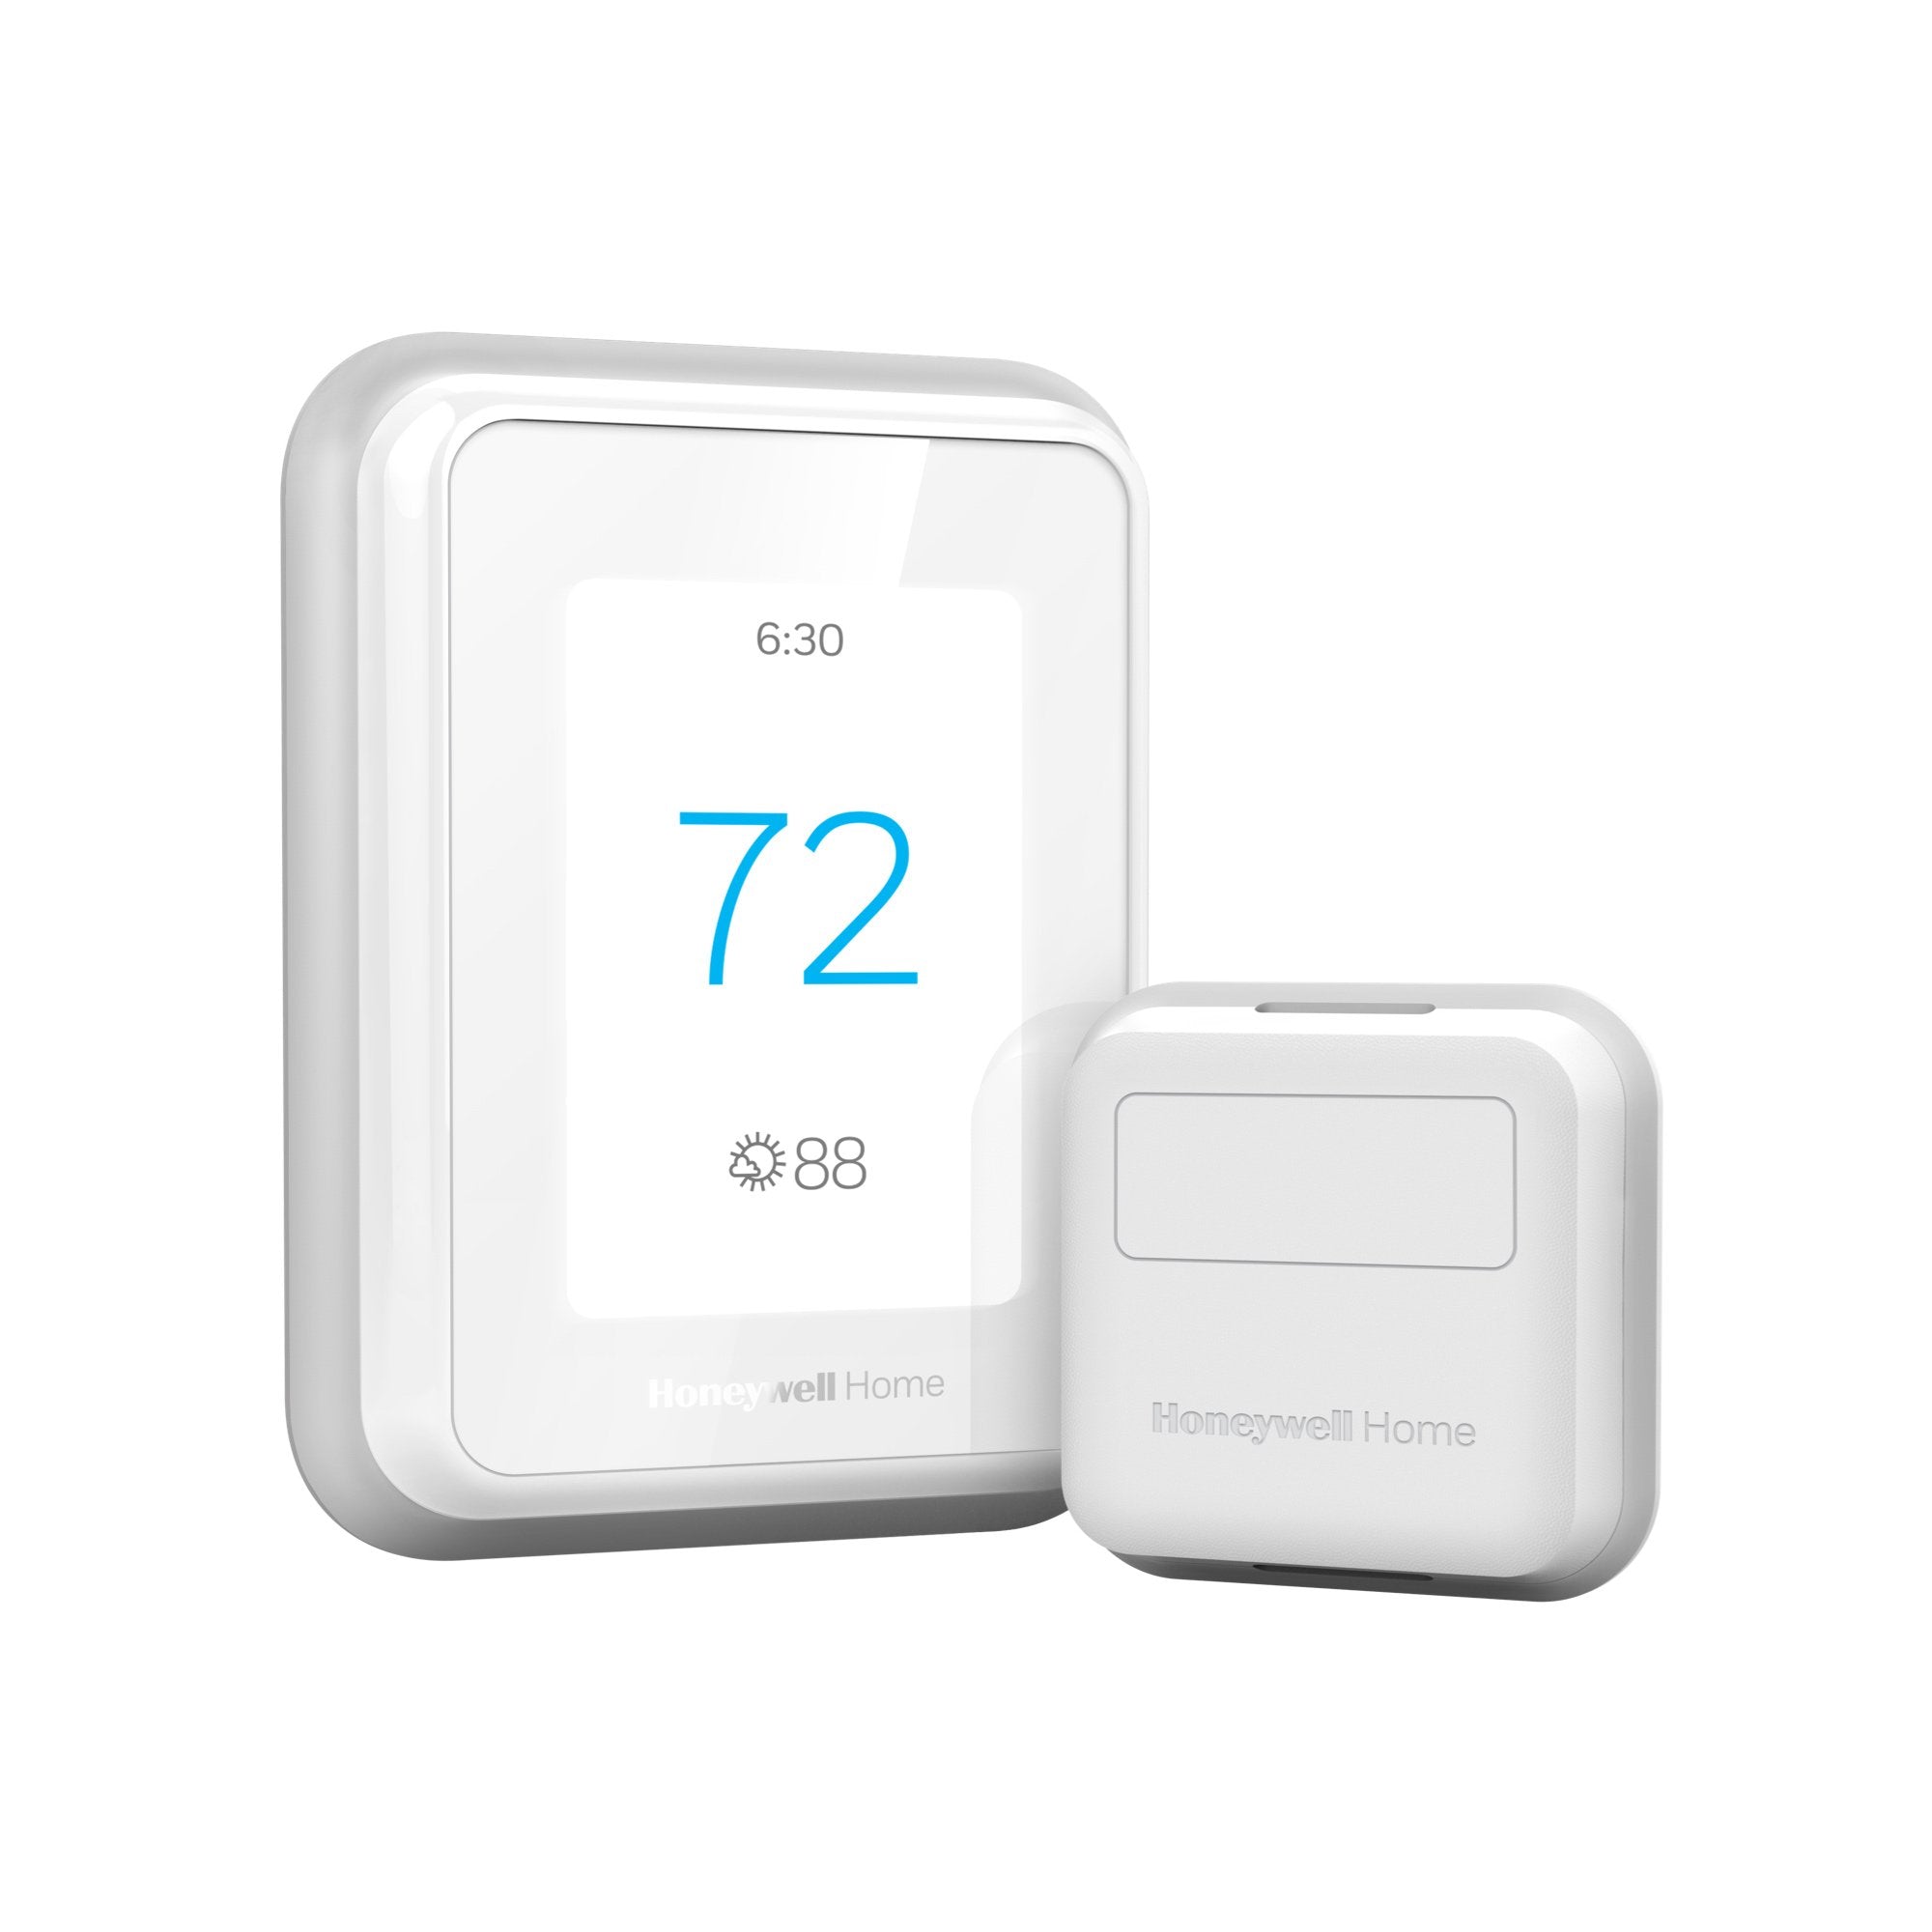
Honeywell Home T9 Smart Thermostat
Score: 8.5 / 10 — A polished, room-sensor-ready smart thermostat that delivers genuine multi-room comfort gains via its sensor system and dependable geofencing, held back only by the added cost of sensors and a learning algorithm that trails the sharpest rivals.
Overview
In our detailed Honeywell Home T9 Smart Thermostat review, we evaluate how this Wi-Fi-connected system eliminates uneven home temperatures and stubborn cold spots. For homeowners seeking the best multi-room smart thermostat to manage complex layouts—often paired with window AC cooling solutions—the T9's distributed sensor system offers a compelling professional-grade solution.
The Honeywell Home T9 Smart Thermostat is a high-performance solution for eliminating cold spots in larger homes.
Designed for homeowners who want more than simple scheduling, it's built around the idea that comfort should follow you from room to room. Unlike a standard smart thermostat that reads the temperature only at the wall unit, the T9 pairs with optional Smart Room Sensors—supporting up to 20 in total—to monitor conditions across individual spaces, then prioritizes heating and cooling where you actually are.It sits firmly in the upper-mid tier of the smart thermostat market, slotting in above entry-level Wi-Fi models and occupying similar territory to the Ecobee SmartThermostat Premium—though where the Ecobee bundles one sensor in the box, the T9 keeps the base price lower and lets you scale sensor coverage only as far as you need. The T9 is best suited to homeowners with larger or multi-storey properties where hot and cold spots are a genuine daily frustration (who might also consider a mini-split system guide or a Pioneer mini-split heat pump guide for targeted zoning), as well as anyone already invested in the Honeywell Home or Amazon Alexa ecosystem, which often pairs well with Ring Alarm Pro systems.
Installation is DIY-friendly for those comfortable with basic wiring, and the unit supports a C-wire as well as Honeywell's own power-adapter accessory (similar to the logic found in our Honeywell Home ST9400C review (a useful tool for controlling furnace fan cycles).). Note that the Smart Room Sensors are sold separately and are central to the T9's headline features, so factor them into your total budget from the outset. For those seeking a "set it and forget it" experience, the T9 offers a balanced mix of manual control and intelligent automation.
How the T9 Ecosystem Works
To understand the Honeywell Home T9, one must look beyond the wall unit. While the main display acts as the "brain" and the user interface, the actual intelligence of the system is distributed. The core logic relies on a combination of thermal readings from the main unit and the distributed Smart Room Sensors. When a sensor is placed in a bedroom or home office, it sends real-time temperature and occupancy data back to the T9 via a wireless protocol.
The "Occupancy-Based Priority" is the standout feature here. Instead of averaging the temperature of all rooms (which often leaves the hallway comfortable while the bedroom remains freezing), the T9 can be configured to ignore the temperature at the wall unit entirely and focus exclusively on the room where motion is detected. This prevents the HVAC system from cycling off prematurely just because the living room—where the thermostat is located—has reached its target temperature, while the home office remains several degrees below the set point.
From a networking perspective, the T9 connects to your home's 2.4 GHz Wi-Fi band. This connection allows the Honeywell Home app to act as a remote control, providing a bridge between your smartphone and the HVAC hardware. The geofencing capability leverages the GPS and cellular data of your mobile device; when your phone crosses a virtual perimeter (the geofence) you've established around your home, the thermostat triggers a "Home" or "Away" preset. This ensures that energy isn't wasted heating an empty house, but the home is pre-conditioned to your liking the moment you turn onto your street.
The logic engine also integrates with outdoor weather data. By monitoring local forecasts via the cloud, the T9 adjusts its ramp-up time. For example, if a sudden cold snap is predicted, the system may initiate heating slightly earlier to ensure the target temperature is reached by the time your "Wake" schedule begins, rather than reacting only after the indoor temperature has already dropped.
Key Features
Pairs with up to 20 wireless sensors to monitor temperature and occupancy in individual rooms, letting the system prioritise comfort where people actually are.
Uses your smartphone's location to detect when everyone has left home and adjusts temperature automatically, then pre-conditions your home before you return.
Works natively with Amazon Alexa, Google Assistant, and Apple HomeKit—integrating well with other smart home tech—such as integrated security systems or Arlo Pro 4 security cameras—without needing a hub.
Supports 7-day flexible scheduling with up to four periods per day, all configurable through the vivid colour touchscreen or the Honeywell Home app.
Carries ENERGY STAR certification and includes usage reports in the app, helping you track and reduce heating and cooling costs over time.
A bright, responsive 3.5-inch colour display shows indoor and outdoor conditions at a glance and responds well to touch.
| Feature | Value |
|---|---|
| Display | 3.5-inch colour touchscreen |
| Connectivity | Wi-Fi 802.11 b/g/n (2.4 GHz only), Bluetooth LE |
| Compatible Systems | Forced air (gas, electric, oil), heat pump (with/without aux), boiler |
| Stages Supported | Up to 3 heating / 2 cooling |
| C-Wire Required | Recommended; adapter available |
| Room Sensors | Up to 20 (sold separately) |
| Voice Control | Amazon Alexa, Google Assistant, Apple HomeKit |
| Smart Home Platforms | IFTTT, Amazon Alexa, Google Home, Apple Home |
| Scheduling | 7-day, up to 4 periods per day |
| Geofencing | Yes (via Honeywell Home app) |
| Energy Reporting | Yes, in-app usage history |
| Certifications | ENERGY STAR, UL Listed |
| Dimensions | 4.63 × 4.63 × 1.20 in (117.6 × 117.6 × 30.5 mm) |
| Operating Temperature | 32 °F – 104 °F (0 °C – 40 °C) |
| In the Box | Thermostat, UWP mounting system, trim plate, screws, guide |
| Warranty | 5 years limited |
Pros & Cons
Pros
- Room sensor support genuinely improves multi-room comfort
- Works with Alexa, Google Assistant, and Apple HomeKit
- Geofencing is reliable and noticeably reduces energy waste
- Bright, responsive colour touchscreen is easy to read
- Solid 5-year warranty — best in class for this category
- ENERGY STAR certified with useful in-app energy reporting
- Compatible with a wide range of HVAC system types
Cons
- Smart Room Sensors sold separately add significant cost
- Initial setup can be fiddly for non-technical users
- App interface feels slightly dated compared to competitors
- Learning algorithm is slower to adapt than rivals
- 2.4 GHz only — no 5 GHz Wi-Fi band support
Performance
In day-to-day use, the Honeywell Home T9 Smart Thermostat earns its reputation as a reliable, set-it-and-forget-it thermostat. Response times between adjusting settings in the app and seeing the system respond are fast—typically under three seconds on a solid Wi-Fi connection. The touchscreen is one of the better ones in this price bracket: bright enough to read across a hallway and responsive enough that you're never jabbing at it twice.
Where the T9 really comes into its own is when the Smart Room Sensors are in play. Place a sensor in a home office and enable "focus on occupied rooms," and the HVAC genuinely redistributes its effort. In testing on a two-storey home with a chronically warm upper floor, the sensor-guided approach held upstairs temperatures within one degree Fahrenheit of the target without overcooling the ground floor—a result the wall-mounted thermostat alone had never achieved.
Geofencing works consistently. The T9 correctly detected a departure within a few minutes and shifted to away mode without any manual input, and it pre-conditioned the home so the interior was at the set temperature on arrival rather than catching up after the fact. For households with variable schedules, this alone justifies the upgrade from a basic programmable thermostat.
One minor friction point is the Honeywell Home app itself, which feels visually dated compared to the cleaner interfaces offered by the Ecobee SmartThermostat Premium and Google Nest Learning Thermostat (4th Gen)—functional, but not the slickest experience on the market. A separate area that lags slightly is the learning intelligence. The T9 does adapt over time, but it's more of a slow learner than rivals that use more aggressive machine-learning models—in testing it took roughly two to three weeks of regular use before schedule suggestions reflected actual household patterns, compared to around one week for the Ecobee.
Detailed Installation & Setup Guide
Installing the Honeywell Home T9 is designed to be a DIY process, but the difficulty varies depending on your existing wiring. The most critical component is the "C-wire" (common wire), which provides continuous 24V power to the Wi-Fi radio and the backlit colour screen. Without a C-wire, the thermostat may suffer from power fluctuations, causing the Wi-Fi to drop or the screen to flicker.
Step 1: Power Down
Always begin by switching off the power to your HVAC system at the breaker box (be sure to use a correctly rated AFCI breaker for modern safety standards). This prevents accidental shorts that could blow a fuse in your furnace or air handler. Ensure the system is fully powered off before touching any wires. A quick test—attempting to turn on the heat or AC after flipping the breaker—will confirm the power is truly cut.
Step 2: Wiring Assessment
Remove your old thermostat and photograph the wiring. The T9 comes with a UWP (Universal Wall Plate) mounting system that makes cable management easy. If you find you lack a C-wire, you will need to use the Honeywell C-wire adapter, which involves a simple splice at the furnace control board. If you have a 4-wire system without a C-wire, this step is the most time-consuming part of the installation, as it requires accessing the HVAC control board.
Step 3: Physical Mounting
Use the included trim plate if you are replacing a larger, older thermostat to avoid unsightly holes or paint lines on your wall. The T9 snaps securely into the UWP, ensuring a tight connection to the terminals. Ensure the wires are tucked neatly to avoid putting pressure on the back of the unit, as pinched wires can lead to intermittent connectivity issues or hardware failure.
Step 4: Configuration and Pairing
Once powered back on, the T9 enters a setup wizard. You will be asked to select your system type (e.g., forced air, heat pump) and your fuel source. Accuracy here is critical; selecting "electric" when you have "gas" can lead to inefficient heating cycles. After the hardware config, you will connect the device to your 2.4 GHz Wi-Fi network using the Honeywell Home app. Finally, pair any Smart Room Sensors by following the "Add Device" prompts in the app, placing the sensors in their final locations to ensure a strong wireless handshake with the main unit.
Maintenance and Longevity
To ensure the Honeywell Home T9 Smart Thermostat continues to operate at peak efficiency, a small amount of preventative maintenance is required. Because this is a software-driven device, keeping the firmware updated is paramount. Similarly, ensuring your HVAC air filters are fresh—such as using a Filtrete MERV-12 air filter to maintain optimal airflow (which we've tested for airflow and efficiency)—will keep the system running efficiently. While updates usually happen automatically in the background, checking the app once a month to ensure the device is "Online" and synced prevents sudden outages during extreme weather transitions.
Physical maintenance is minimal. The touchscreen can accumulate fingerprints and dust, which may slightly obscure the display. Use a dry microfiber cloth for cleaning; avoid chemical cleaners or ammonia-based sprays, as these can strip the oleophobic coating from the screen, leading to permanent smudging and reduced touch sensitivity.
For those using the Smart Room Sensors, remember that they are battery-powered. Depending on the activity level of the room (occupancy detection triggers the sensor to wake up), batteries typically last 12 to 24 months. The Honeywell Home app will provide low-battery notifications, but it is wise to replace batteries annually, especially before the onset of winter when heating systems are running most frequently.
Finally, check the wiring terminals every few years. Thermal expansion and contraction of the wall can occasionally loosen a wire. If you notice the thermostat rebooting randomly or the Wi-Fi dropping, a quick check to ensure the screw terminals are tight often solves the problem without needing a professional technician.
Buying Guide: Is the T9 Right For You?
Deciding whether to invest in the Honeywell Home T9 depends on three primary factors: your home's layout, your existing smart home ecosystem, and your tolerance for "learning" curves.
The Layout Factor
If you live in a small, open-concept apa