We may earn a commission from the links on this page, which helps us maintain our independent testing and research.
Finding the best bathroom sink faucet for your home requires more than just picking a style you like; it involves balancing modern aesthetics with long-term mechanical performance and installation compatibility. Whether you are performing a quick refresh or a full remodel, choosing the right fixture depends on installation constraints (hole counts), water efficiency, and finish durability. If you are specifically seeking a contemporary look, our Delta Essa buying guide for modern baths highlights current trends in efficiency and design. This comprehensive guide breaks down everything from valve types to maintenance strategies to ensure your next bathroom upgrade lasts for decades.
Quick Take: When shopping for a bathroom faucet, your first priority is matching the "hole configuration" of your sink (Single-hole, Centerset, or Widespread). For long-term durability, prioritize ceramic disc valves over compression washers and choose finishes like brushed nickel to minimize visible water spots. Always look for the WaterSense label to ensure efficiency without sacrificing water pressure.
Understanding Different Faucet Types
Before browsing finishes, you must identify the physical configuration of your sink. Installing a faucet that doesn't match your basin's pre-drilled holes is a common and costly mistake. The "footprint" of your faucet determines not only the look of the vanity but also the complexity of the installation process.
Single-Hole Faucets
The most modern and minimalist option, single-hole faucets combine the hot and cold water controls into one lever. They are ideal for smaller bathrooms or vessel sinks where space is at a premium. Because they only require one hole, they leave more countertop room for soap dispensers or toothbrush holders. These are increasingly popular in contemporary "spa-style" bathrooms and are the easiest to clean since there is less surface area for grime to accumulate around the base.
From a functional standpoint, single-handle operation is more ergonomic, allowing you to adjust temperature and flow with a single flick of the wrist. This is particularly beneficial for children or elderly users who may struggle with the twisting motion required by dual-handle systems. However, because one valve handles both temperatures, a failure in the cartridge means the entire faucet is out of commission.
Centerset Faucets
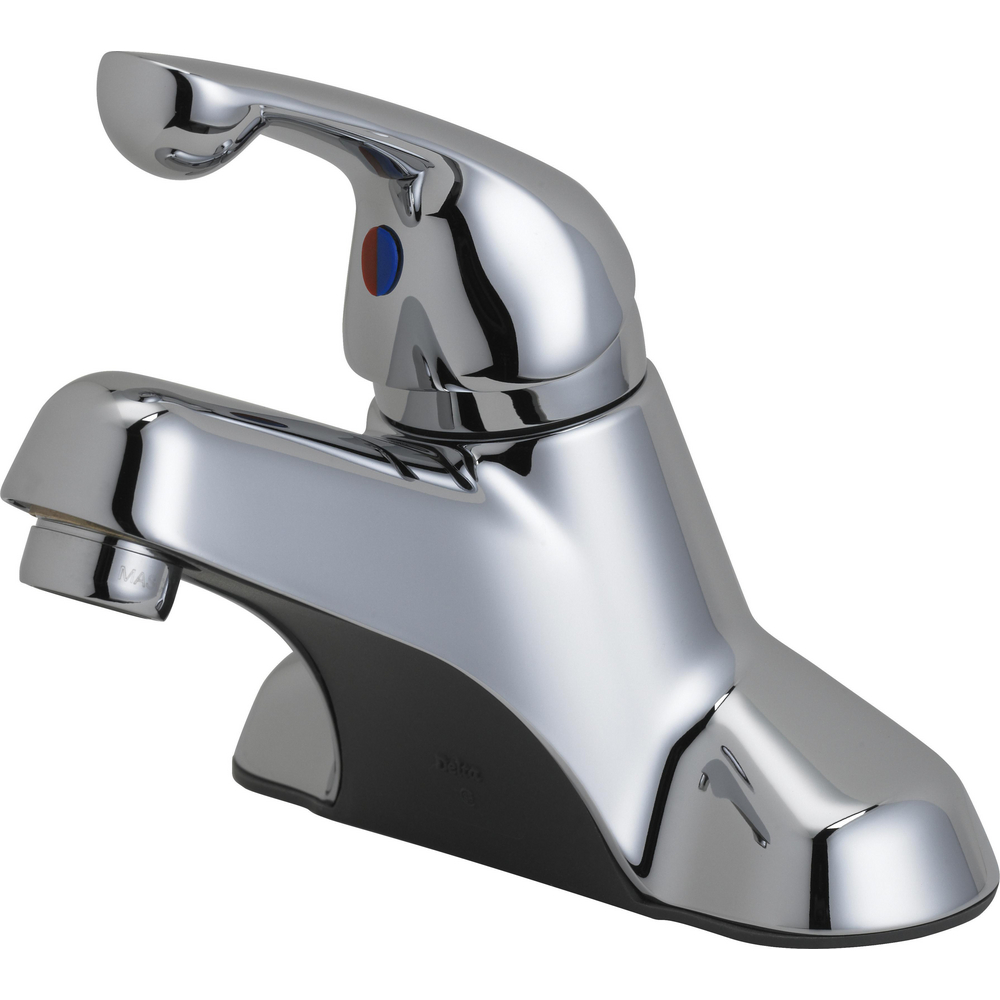
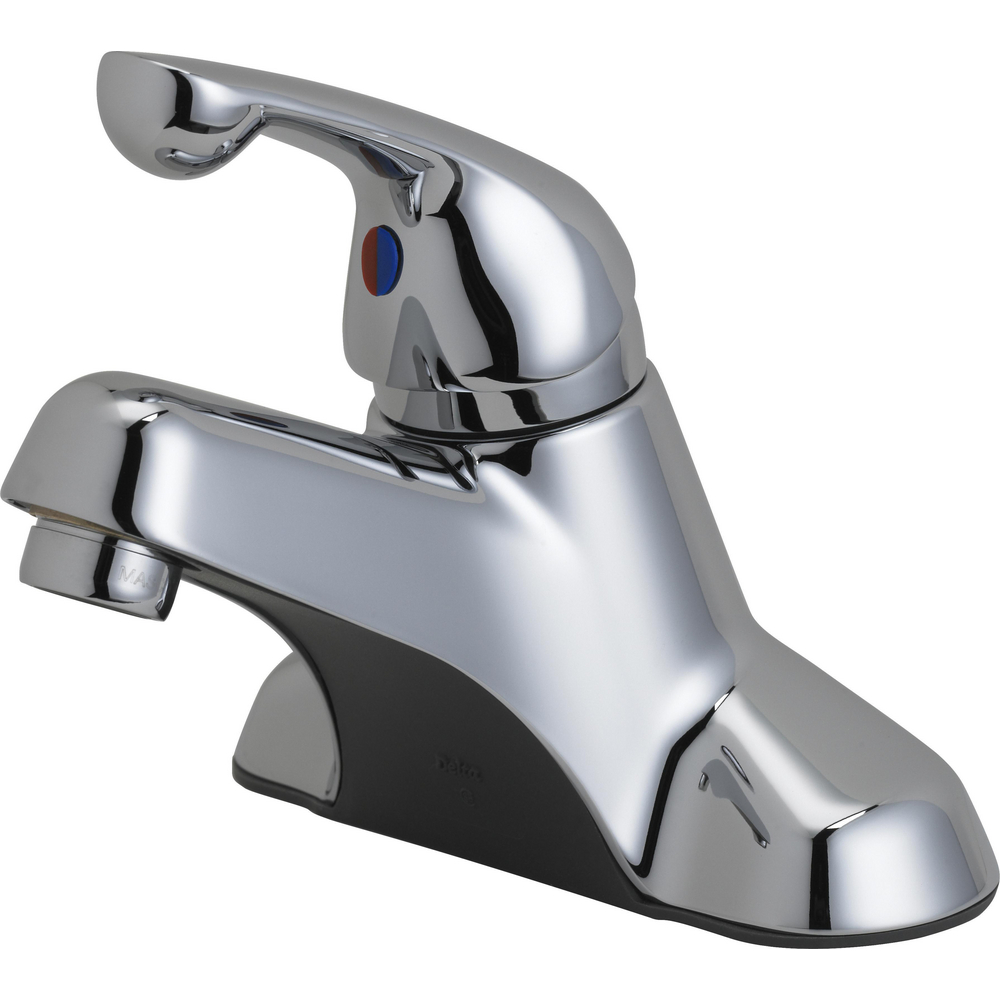
Centerset faucets are the most common in standard bathrooms. They feature a spout and two handles all mounted on a single integrated base plate. The distance between the holes is typically 4 inches. These are generally the easiest to install and replace because the base plate covers existing holes from previous, older fixtures, effectively hiding any imperfections in the countertop or outdated drilling patterns.
The dual-handle design allows for precise temperature control by adjusting hot and cold flows independently. For a deep dive into budget-friendly dual-handle options, see our detailed Pfister Stellen buying guide for a breakdown of its features and our Pfister Stellen budget faucet review for real-world value analysis. While this adds a step to the process of getting the water to the right temperature, many users prefer the tactile feedback of separate handles. Centerset models are the "workhorses" of the residential bathroom, offering a balance of traditional aesthetics and reliable performance, similar to the American Standard Berwick performance review and detailed buying guide. The Pfister Stellen is a strong example of a high-value entry-level fixture for those seeking a budget-friendly option.
Widespread Faucets
Widespread faucets feature three separate components: the spout and two handles. The holes are usually spaced 8 inches apart, though some adjustable models exist. These are considered the "premium" choice for master bathrooms (see our complete Kohler Artifacts buying guide and performance review for high-end options), offering a more luxurious look and greater flexibility in placement. Because the components are separate, you have more room to maneuver when washing your hands, and the visual "weight" of the fixture fills a larger vanity more effectively.
Installing a widespread faucet is more complex, as it requires three distinct holes and individual supply lines for each handle. However, the lack of a base plate provides a cleaner, more custom appearance. If you are renovating a master suite and have the option to choose a new vanity top, widespread faucets are the recommended choice for increasing the resale value of the home. You can find more inspiration in our Delta Essa buying guide for modern bathrooms.
The Mechanics: How Bathroom Faucets Work
While a faucet looks like a simple tap, the internal valve determines the longevity of the fixture and the precision of the water flow. Understanding these mechanisms helps you choose a model that won't drip after six months.
Compression Valves
These are the "old school" faucets. They use a rubber washer to seal the water flow. Every time you tighten the handle, you are compressing a washer against a valve seat. While simple, these are prone to leaks over time as the rubber degrades, requiring frequent washer replacements. In areas with high mineral content, the valve seat can become pitted, meaning even a new washer won't stop the leak, necessitating a complete valve replacement.
Ceramic Disc Valves
The gold standard for modern home tech, often found in premium lines like the Kohler Artifacts series; for real-world performance, see our comprehensive review of the Kohler Artifacts faucet. These utilize two highly polished ceramic discs that slide against each other. Because the seal is nearly molecular, these valves are virtually leak-proof and don't wear down like rubber. Ceramic is incredibly hard and resistant to abrasion, meaning the internal components maintain their seal for years. If you want a "set it and forget it" installation, prioritize ceramic disc technology, as seen in our American Standard Berwick review and buying guide, which details the installation of these valves.
Ball Valves
Commonly found in single-handle faucets, a rotating metal ball controls the mix of hot and cold water. The ball has openings that align with the water supply as you move the handle. While convenient and durable, they can be more prone to mineral buildup inside the ball housing compared to ceramic discs. If the ball becomes coated in calcium, the handle may feel "sticky" or the water flow may become inconsistent.
Detailed Buyer's Guide: Key Selection Criteria
When selecting a faucet, you need to look past the showroom shine and analyze the technical specifications. Use the following criteria to narrow your search and ensure the product meets your lifestyle needs.
1. Finish and Material Durability
The finish is not just aesthetic; it's a protective layer. Different finishes react differently to harsh bathroom cleaners and hard water. A poor finish will peel, pit, or discolor within two years, whereas a high-quality PVD (Physical Vapor Deposition) finish can last a lifetime.
Brushed Nickel
Excellent at hiding water spots and fingerprints. It is the most practical choice for high-traffic family bathrooms because the muted tone blends with most decor and requires less frequent polishing.
Polished Chrome
The most durable and corrosion-resistant finish due to its hard outer shell. However, it is a mirror-like surface that shows every single water droplet and smudge. It requires frequent polishing.
Matte Black
Highly trendy and modern. However, it can show "scaling" (white mineral buildup) more prominently than lighter finishes. It can be susceptible to scratching if abrasive cleaners are used.
Oil-Rubbed Bronze
Offers a traditional, rustic feel. Best for those who want a "lived-in" look, as it handles wear and tear gracefully. The darker tones hide grime well, though it may clash with minimalist aesthetics.
2. Flow Rate and Water Conservation
Check the Gallons Per Minute (GPM) rating. While older faucets might push 2.2 GPM, many modern high-efficiency models operate at 1.0 to 1.5 GPM. Look for the WaterSense label, which indicates the faucet meets EPA criteria for efficiency without sacrificing performance. Reducing your GPM can lead to significant water savings over a year, especially in households with children who tend to leave the water running.
3. Spout Height and Reach
Ergonomics are often overlooked until the faucet is installed. A faucet that is too short will cause you to hit your knuckles against the basin. A faucet that is too high (especially with high water pressure) will cause water to splash back onto the counter. Measure the depth of your sink and ensure the spout reaches comfortably toward the center of the drain to avoid "splash-back" zones.
Installation and Setup Guide
Installing a faucet is a manageable DIY project, but the "hidden" parts of the process are where most errors occur. (If you are tackling the kitchen next, our MOEN Chateau 7430 kitchen faucet review and MOEN Chateau 7430 buying guide offer professional installation tips for larger fixtures.) Proper preparation ensures that you don't spend your weekend chasing a leak inside your vanity cabinet.
Required Tools
To ensure a leak-free installation, you will need the following professional-grade tools:
- Adjustable wrench or basin wrench: A basin wrench is critical for reaching the mounting nuts in the tight space behind the sink bowl.
- Plumber's tape (Teflon tape): Used to wrap threaded connections to prevent micro-leaks. For those using push-to-connect fittings, see our SharkBite 1/2-inch coupling guide for professional leak-proof installation tips.
- Silicone sealant or plumber's putty: Used to create a waterproof seal between the faucet base and the countertop.
- Bucket and towels: To catch residual water remaining in the supply lines after the shut-off.
Step-by-Step Installation Process
- Shutdown: Turn off the hot and cold water supply valves under the sink. Open the current faucet to drain the lines and release any built-up pressure.
- Removal: Unscrew the mounting nuts under the sink using a basin wrench. Carefully lift the old faucet out. Use a non-abrasive scrub brush and vinegar to clean the sink surface of old putty, lime scale, or mildew.
- Sealing: Apply a bead of silicone or a ring of plumber's putty around the base of the new faucet. This prevents water from leaking through the holes and rotting the wood of your vanity cabinet. (If you have basement moisture issues, check our Ridgid SP-650C sump pump guide to protect your home's foundation).
- Securing: Drop the faucet into the holes and tighten the mounting nuts from underneath. ⚠️ Warning: Be careful not to overtighten, which can crack ceramic sinks or warp the plastic mounting hardware. Tighten until snug, then give a final quarter-turn.
- Connecting: Attach the flexible supply lines to the shut-off valves. Use Teflon tape on the threads in a clockwise direction to ensure a watertight seal.
- Flushing: This is the most skipped step. Remove the aerator (the small screen at the tip of the spout), turn on the water, and let it run for 30 seconds. This clears any debris, solder, or pipe scale that could clog the aerator immediately.
Maintenance and Longevity
A high-quality faucet can last 20 years if maintained, or 5 years if neglected. Just as with maintaining an A.O. Smith water heater, consistent preventative care is the key to avoiding emergency replacements. The biggest enemy of a bathroom faucet is mineral buildup (calcium and magnesium) and chemical erosion. To prevent this across all fixtures, consider a whole house water filter or a whole-house filtration system to remove hard minerals before they reach your faucets.
Cleaning the Aerator
If your water stream becomes uneven, "sprays" in different directions, or feels weak, your aerator is clogged. The aerator is designed to mix air with water to prevent splashing, but it also acts as a filter for sediment. Unscrew the tip with a wrench (use a cloth to protect the finish), soak the mesh screen in white vinegar for one hour to dissolve calcium deposits, and rinse. This restores full pressure and flow.
Preventing Corrosion
Avoid using abrasive scrubbing pads, steel wool, or bleach-based cleaners on the finish. These can create microscopic scratches that allow moisture to penetrate the plating, leading to peeling or pitting (small black dots). A soft microfiber cloth and mild dish soap are all that is needed to keep the faucet looking new. For stubborn spots, a 50/50 mix of water and white vinegar is the safest solution.
Addressing Drips
If a faucet drips from the spout, the internal seal (washer or O-ring) is likely worn. For ceramic disc faucets, the cartridge may need replacement. Most major brands sell replacement cartridges that can be swapped out without replacing the entire fixture. If you notice a leak at the base of the handle, it usually indicates a worn O-ring that can be replaced for a few cents.
Common Pitfalls to Avoid
Avoid these common mistakes when shopping for and installing your new bathroom fixture:
What to Avoid
- Ignoring the "Reach": Buying a faucet that doesn't reach the center of the basin, leading to water running down the side of the sink.
- Over-tightening Nuts: Cracking a porcelain sink by using too much force with a wrench on the mounting hardware.
- Using Abrasive Cleaners: Using "magic erasers" or scouring powders on matte black or gold finishes, which permanently strips the coating.
- Skipping the Aerator Flush: Installing a faucet and leaving construction debris in the lines, which immediately clogs the new aerator.
How to Fix/Prevent
- Check Specs: Always compare the "spout reach" measurement to your sink's interior dimensions.
- Hand Tighten First: Tighten by hand, then use the wrench for only a small additional turn.
- Use Mild Soap: Stick to pH-neutral soaps and a microfiber cloth for all surfaces.
- Flush First: Always run water without the aerator installed during the first setup.
How We Chose
Our methodology for evaluating bathroom faucets focuses on three primary pillars: build quality, ease of installation, and long-term sustainment. We analyze the materials used in the valve cartridges—prioritizing ceramic over rubber—and examine the plating methods used for the exterior finish. We consider the "DIY-friendliness" of the installation kit, including the quality of the supply lines and the presence of clear, accurate instructions.
We also evaluate water efficiency by comparing the flow rates against EPA WaterSense standards. A faucet tha