Repiping a bathroom with PEX tubing is one of the most rewarding DIY plumbing projects you can tackle. PEX (cross-linked polyethylene) is flexible, freeze-resistant, and far easier to work with than copper or galvanized steel. With the right tools and a weekend of patience, you can replace old, corroded supply lines and modernize your bathroom's plumbing without hiring a pro.


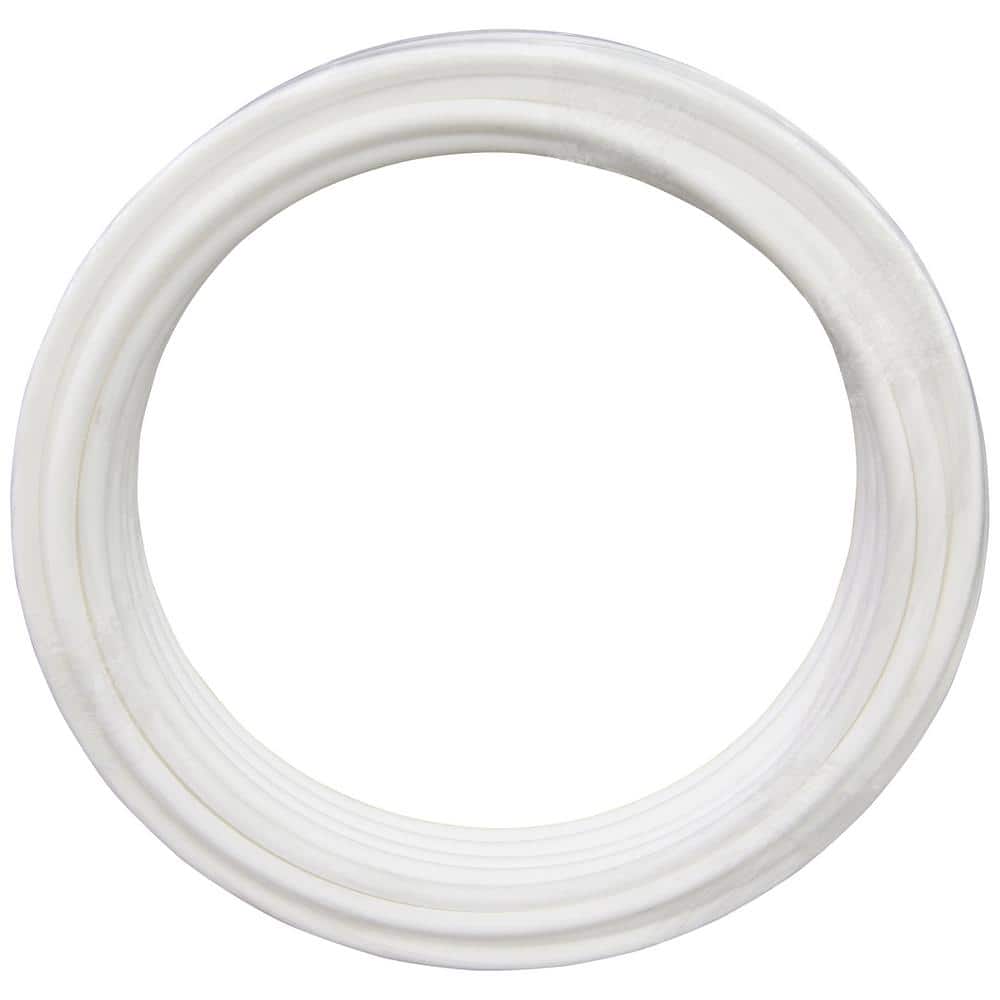
See current price and details for Apollo 1/2 inch x 10 ft White PEX-B Pipe Tubing Coil.
TL;DR: Shut off water, drain the lines, remove old piping, run new PEX hot and cold lines from a manifold or trunk line to each fixture, secure with proper supports, crimp or expand connections, then pressure-test before closing up walls.
Why Choose PEX for a Bathroom Repipe?
PEX has become the go-to material for residential plumbing for good reason. It bends around corners, requires fewer fittings, resists scale buildup, and costs significantly less than copper. For a bathroom repipe, those advantages translate to faster installation and fewer leak points behind your finished walls.
Bends through studs and around obstacles without elbows.
Expands slightly if water freezes, reducing burst risk.
Roughly 25–50% cheaper than copper of equivalent length.
Absorbs water hammer better than rigid metal pipe.
Tools and Materials You'll Need
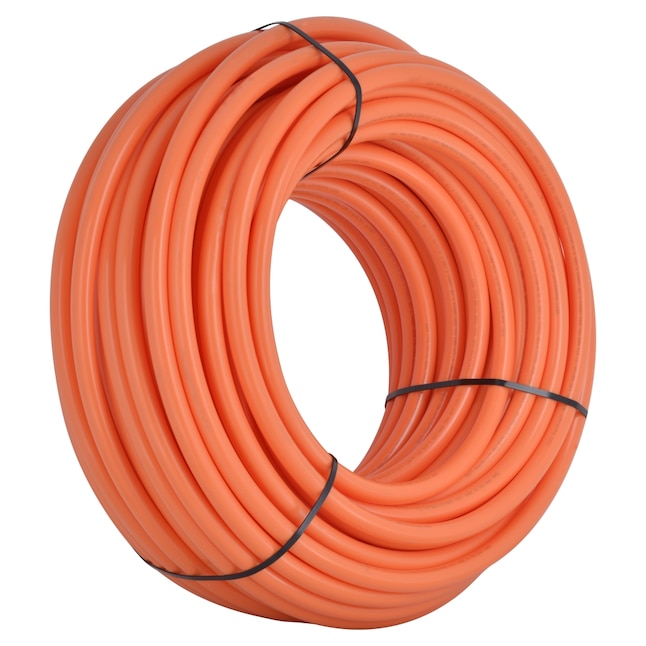
- PEX tubing (½" for fixture runs, ¾" for main lines) — red for hot, blue for cold
- PEX fittings (brass or poly) — elbows, tees, couplings, and stub-outs
- Crimp rings or expansion rings (matched to your tool type)
- PEX crimping tool or expansion tool
- Go/no-go gauge to verify crimp connections
- Tubing cutter
- Pipe straps or talon clamps
- Drill with spade bits for stud penetrations
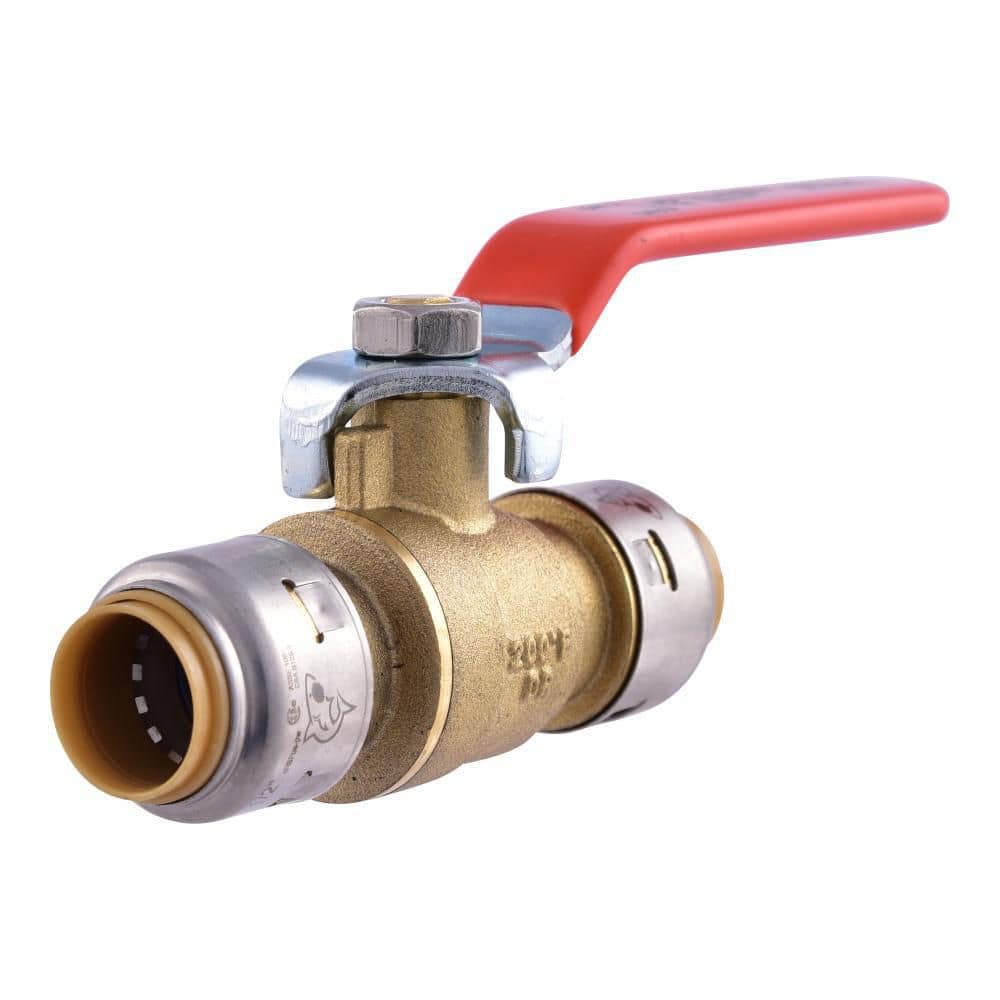
- Shutoff valves for each fixture
- Pressure test gauge
Crimp vs. Expansion: Crimp systems (copper rings) are cheaper and beginner-friendly. Expansion systems (Uponor/PEX-A) are faster once you own the tool and produce connections with no flow restriction. Pick one system and stick with it.
Step 1: Plan Your Layout
Before cutting anything, sketch the bathroom from above. Mark the locations of the toilet, sink, tub/shower, and any secondary fixtures like a bidet. Decide between two layouts:
- Trunk and branch: A main ¾" line runs through the bathroom with ½" tees branching off to each fixture. Best for retrofits where you're snaking through existing walls.
- Home-run manifold: Each fixture gets its own dedicated ½" line from a central manifold. Better pressure balance, but uses more tubing.
For most single-bathroom repipes, a trunk-and-branch layout is simpler and just as effective.
Step 2: Shut Off Water and Drain the System
- Close the main water shutoff valve to the house.
- Open the lowest faucet in the home (often a basement utility sink or outdoor spigot) to drain the lines.
- Open the bathroom faucets and flush the toilet to relieve any remaining pressure.
- Place a bucket under each fixture supply line before disconnecting.
Step 3: Remove the Old Piping
Cut out old copper or galvanized lines back to a sound section where you can transition to PEX. Use a reciprocating saw or pipe cutter, depending on access. Save fittings if you'll need to reconnect to a copper stub later — a sweat-to-PEX adapter or push-fit fitting makes the transition straightforward.
Asbestos and lead warning: Homes built before the mid-1970s may have asbestos-wrapped pipe insulation, and those built before 1986 may have lead solder on copper joints. If you're unsure about either hazard, test materials before disturbing them.
Step 4: Run the New PEX Lines
Drill ⅝"–¾" holes through the center of studs (never within 1¼" of an edge — use nail plates if you must). Pull continuous runs of PEX from the trunk line to each fixture, leaving 12–18 inches of slack at the stub-out for adjustments.
- Keep hot and cold lines separated through wall cavities where practical to reduce heat transfer — 6 inches is a common guideline, though local codes vary (note: the 18-inch rule near the water heater outlet is a separate, stricter requirement).
- Avoid kinks — if you kink the tubing, cut it out and splice with a coupling.
- Support horizontal runs every 32 inches and vertical runs at every floor.
- Use sweep bends or PEX bend supports for 90-degree turns instead of elbows.
Step 5: Make Your Connections
For crimp-style connections:
- Cut the tubing square with a PEX cutter.
- Slide the copper crimp ring onto the tubing.
- Push the fitting fully into the tubing until it bottoms out.
- Position the ring ⅛" from the end of the tubing.
- Center the crimp jaws perpendicular to the ring and squeeze fully closed.
- Verify with a go/no-go gauge — the ring should pass through the "go" slot but not the "no-go."
For expansion connections, slide the ring onto the tubing, expand both tubing and ring with the tool, then push the fitting in and let the PEX shrink back to grip.
Step 6: Install Stub-Outs and Shutoff Valves
At each fixture, terminate the PEX in a drop-ear elbow or stub-out bracket screwed to a stud or backer board. This anchors the line so the supply riser and shutoff valve have a solid mounting point. Use ½" PEX-to-compression or push-fit shutoff valves at each fixture for easy future service.
Step 7: Pressure Test Before Closing Walls
This is the step beginners skip and regret. Cap all open ends, then either:
- Fill the system with water, turn on the supply, and inspect every joint for 30 minutes, or
- Use an air pressure test kit at 60–80 PSI and watch the gauge for an hour.
Any pressure drop indicates a leak. Fix it before you drywall — chasing a leak inside a finished wall is miserable.
Pro tip: Take photos of every PEX run before insulating and closing the walls. Future-you will thank you when it's time to hang a towel bar or run a new vent fan.
Common Mistakes to Avoid
Do
- Use bend supports on tight turns
- Keep PEX at least 18" from the water heater outlet — use a copper or CPVC stub-out at the heater itself
- Match ring type to fitting type
- Label hot and cold at the manifold
Don't
- Expose PEX to direct sunlight (UV degrades it)
- Over-crimp — one full squeeze is enough
- Run PEX through unprotected stud edges
- Mix crimp rings between brands without checking specs
Frequently Asked Questions
Do I need a permit to repipe my bathroom?
In most jurisdictions, yes. Replacing supply lines typically requires a plumbing permit and an inspection. Check with your local building department before starting — unpermitted work can complicate home sales and insurance claims.
Can PEX connect directly to my existing copper pipes?
Yes. Use a copper-to-PEX transition fitting, a push-fit connector, or a threaded adapter with a brass PEX fitting. Avoid sweating right next to PEX — keep at least 6 inches of copper between the solder joint and the PEX connection.
How long does PEX last?
Manufacturers warranty PEX for 25 years, but properly installed PEX is expected to last 50 years or more. Keep it out of UV light and away from extreme heat sources to maximize lifespan.
Can I use PEX for the hot water line to my shower?
Absolutely. PEX is rated for 200°F at 80 PSI, well above residential hot water temperatures. Just keep it more than 18 inches from the water heater outlet and use a copper or CPVC nipple at the heater itself.
How much does a bathroom PEX repipe cost in materials?
For a typical bathroom, expect to spend $150–$400 on tubing, fittings, valves, and supports. Adding a crimping tool runs another $50–$150; an expansion tool can be $200–$500. Renting tools from a home center is a budget-friendly option for one-time projects.
Final Thoughts
Repiping a bathroom with PEX is well within reach for a careful DIYer. Take your time on the layout, make clean connections, and never skip the pressure test. The result is a quieter, more reliable, freeze-resistant water supply that should outlast the fixtures it feeds.