A smart thermostat can trim your energy bills, give you remote control over your home's climate, and add a layer of convenience that a basic dial thermostat never will. But before you buy one, you need to know whether it will actually work with your heating and cooling system. Not every thermostat fits every setup, and compatibility is the single most common reason a new thermostat ends up back in the box. This guide walks you through how to evaluate your HVAC system and match it to the right smart thermostat.
TL;DR: Start by identifying your HVAC system type and checking your existing wiring — especially whether you have a C-wire. Then weigh features like scheduling, geofencing, and voice assistant support against your budget. The "smartest" thermostat is only worth buying if it's compatible with your equipment.
Step 1: Identify Your HVAC System Type
Smart thermostats are designed around the type of heating and cooling equipment they control. Knowing your system type narrows the field immediately.
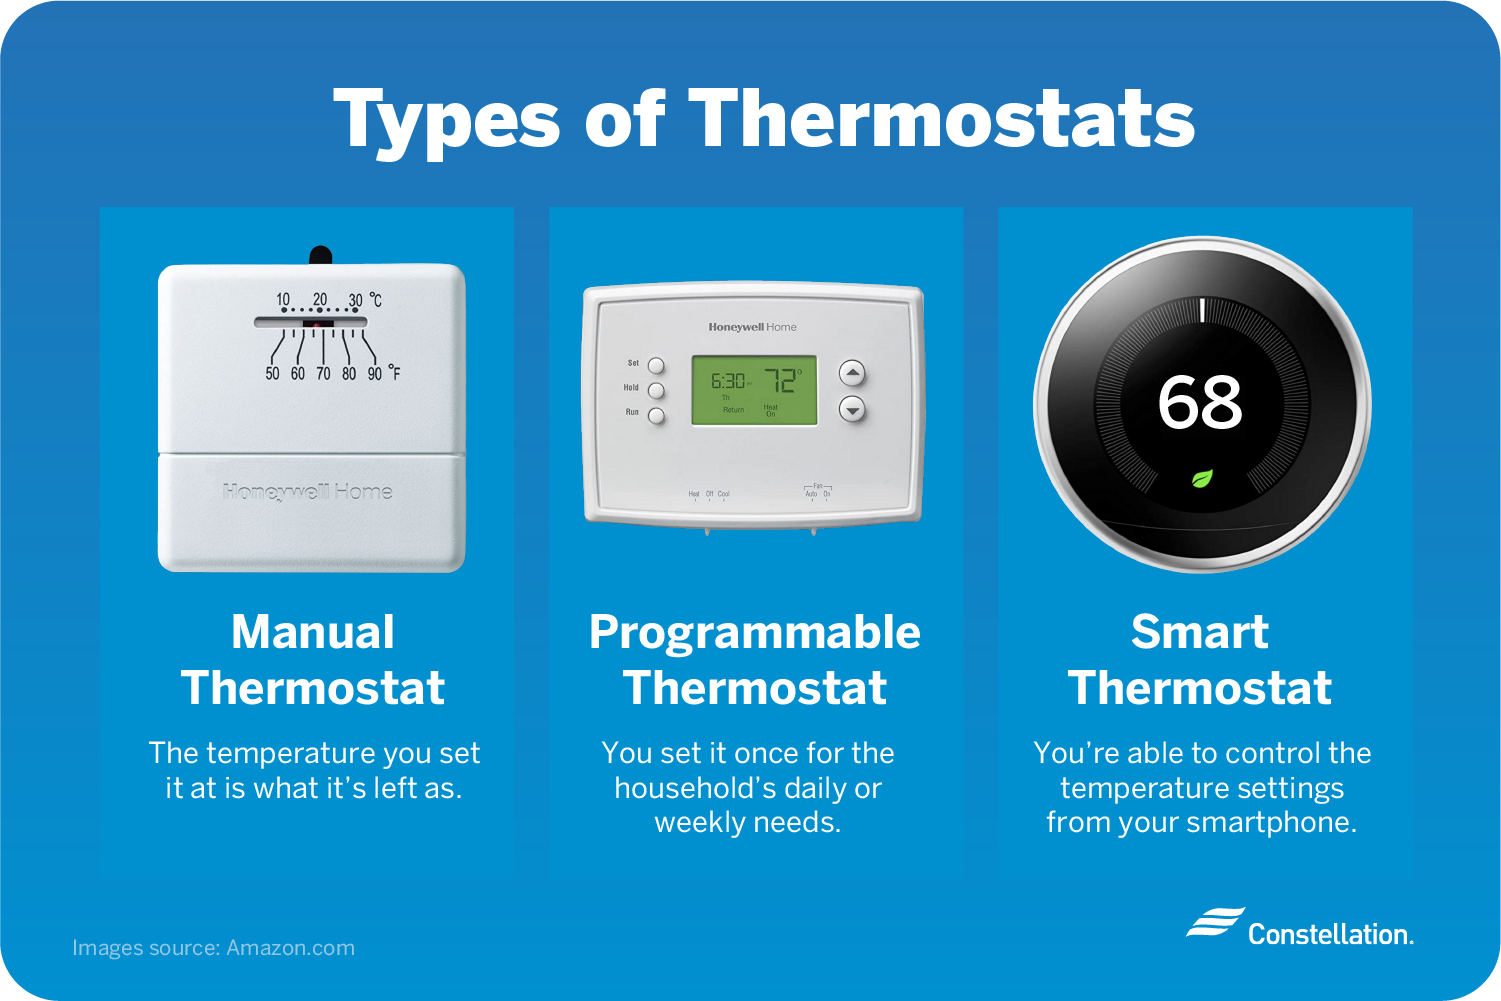
- Central forced-air systems (gas furnace + AC) — the most common and most widely supported setup.
- Heat pumps — require a thermostat that supports auxiliary/emergency heat staging (O/B and AUX terminals).
- Multi-stage systems — two-stage heating or cooling needs a thermostat that can control each stage.
- Radiant, baseboard, or line-voltage heat — most popular smart thermostats are low-voltage only and will not work here without a line-voltage model.
- Boilers and millivolt systems — limited compatibility; verify carefully.
Line-voltage warning: If your wires are thick and connect to 120V or 240V circuits, you have a line-voltage system. Standard smart thermostats run on 24V low-voltage and can be damaged or create a fire hazard if installed on line voltage. Look for thermostats specifically rated for line-voltage use.
Step 2: Check Your Existing Wiring (the C-Wire Question)
Open your current thermostat and look at the labeled terminals. Smart thermostats need continuous power, and that's where the C-wire (common wire) comes in. Without it, many smart thermostats can't stay powered reliably.
Take a photo of your wiring before you do anything else — it's the most useful reference when checking compatibility online or troubleshooting later.
| Terminal | What It Controls |
|---|---|
| R / Rc / Rh | Power (24V) |
| C | Common wire — continuous power return |
| W / W2 | Heating (stages 1 and 2) |
| Y / Y2 | Cooling (stages 1 and 2) |
| G | Fan |
| O/B | Heat pump reversing valve |
| AUX / E | Auxiliary / emergency heat |
No C-wire? You have options: choose a thermostat that includes a C-wire power adapter or "power-stealing" technology, install a C-wire adapter kit at your furnace, or have a professional run a new wire. Some brands sell their own add-a-wire modules in the box.
Step 3: Decide Which Features Matter to You
Once you've confirmed compatibility, features become the deciding factor. Don't pay for capabilities you'll never use.
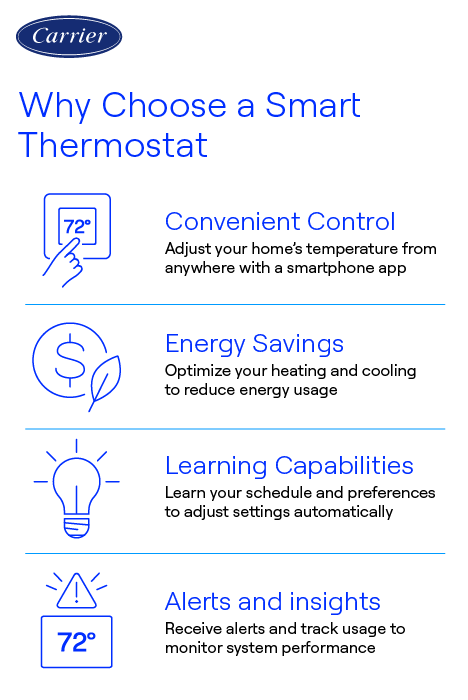
Some thermostats learn your routine automatically; others let you set fixed schedules manually. Learning is convenient but not essential.
Uses your phone's location to adjust temperature when you leave or return home — great for irregular schedules.
Check for Alexa, Google Assistant, or Apple HomeKit compatibility if you use a smart home ecosystem.
Place sensors in other rooms to balance temperature and avoid heating or cooling based on one spot.
Usage history and efficiency tips help you understand and reduce consumption over time.
Many energy companies offer rebates for ENERGY STAR-certified smart thermostats, offsetting the upfront cost.
Step 4: Consider Installation and Ecosystem
Be honest about your comfort level. Most low-voltage installs take 20–30 minutes if you can match wires to terminals, but heat pumps and multi-stage systems add complexity. If you're unsure, budget for professional installation.
Also think about your existing devices. If you already use a particular smart home platform, choosing a thermostat that integrates with it keeps everything in one app and unlocks automations like adjusting the temperature when your smart lock detects you've left.
Step 5: Match Budget to Value
Smart thermostats range from budget models with basic app control to premium units with learning algorithms, color touchscreens, and bundled sensors. A mid-range model handles most homes well. Spend more only if you genuinely benefit from extras like multi-room sensors or advanced energy analytics — and remember to subtract any utility rebate from the sticker price.
Frequently Asked Questions
Do I need a C-wire for every smart thermostat?
Not always. Many models offer power-stealing technology or include a C-wire adapter. However, a dedicated C-wire provides the most reliable power and avoids issues like Wi-Fi dropouts or short cycling.
Will a smart thermostat work with my heat pump?
Only if it supports heat pump wiring (O/B reversing valve and auxiliary heat terminals). Check the product's compatibility tool and confirm it lists heat pumps before buying.
Can I install a smart thermostat myself?
For most standard forced-air systems, yes — just turn off power at the breaker, photograph your wiring, and follow the app's guided setup. Complex or line-voltage systems are best left to a professional.
How much can a smart thermostat save me?
Savings vary by home and habits, but ENERGY STAR estimates many households save around 8% on heating and cooling costs through smarter scheduling and away modes.
The Bottom Line
Choosing the right smart thermostat comes down to compatibility first, features second, and budget third. Confirm your HVAC system type, inspect your wiring for a C-wire, and only then compare features and price. Get those steps right and you'll end up with a thermostat that installs cleanly, works reliably, and starts paying for itself in comfort and savings.